How do I set up google console?
Purpose
To provide step-by-step guidance on setting up the Google Play Console, which is necessary for publishing, managing, and monitoring Android apps on the Google Play Store.
Steps
Go to the Play Console: https://play.google.com/console/u/0/developers/
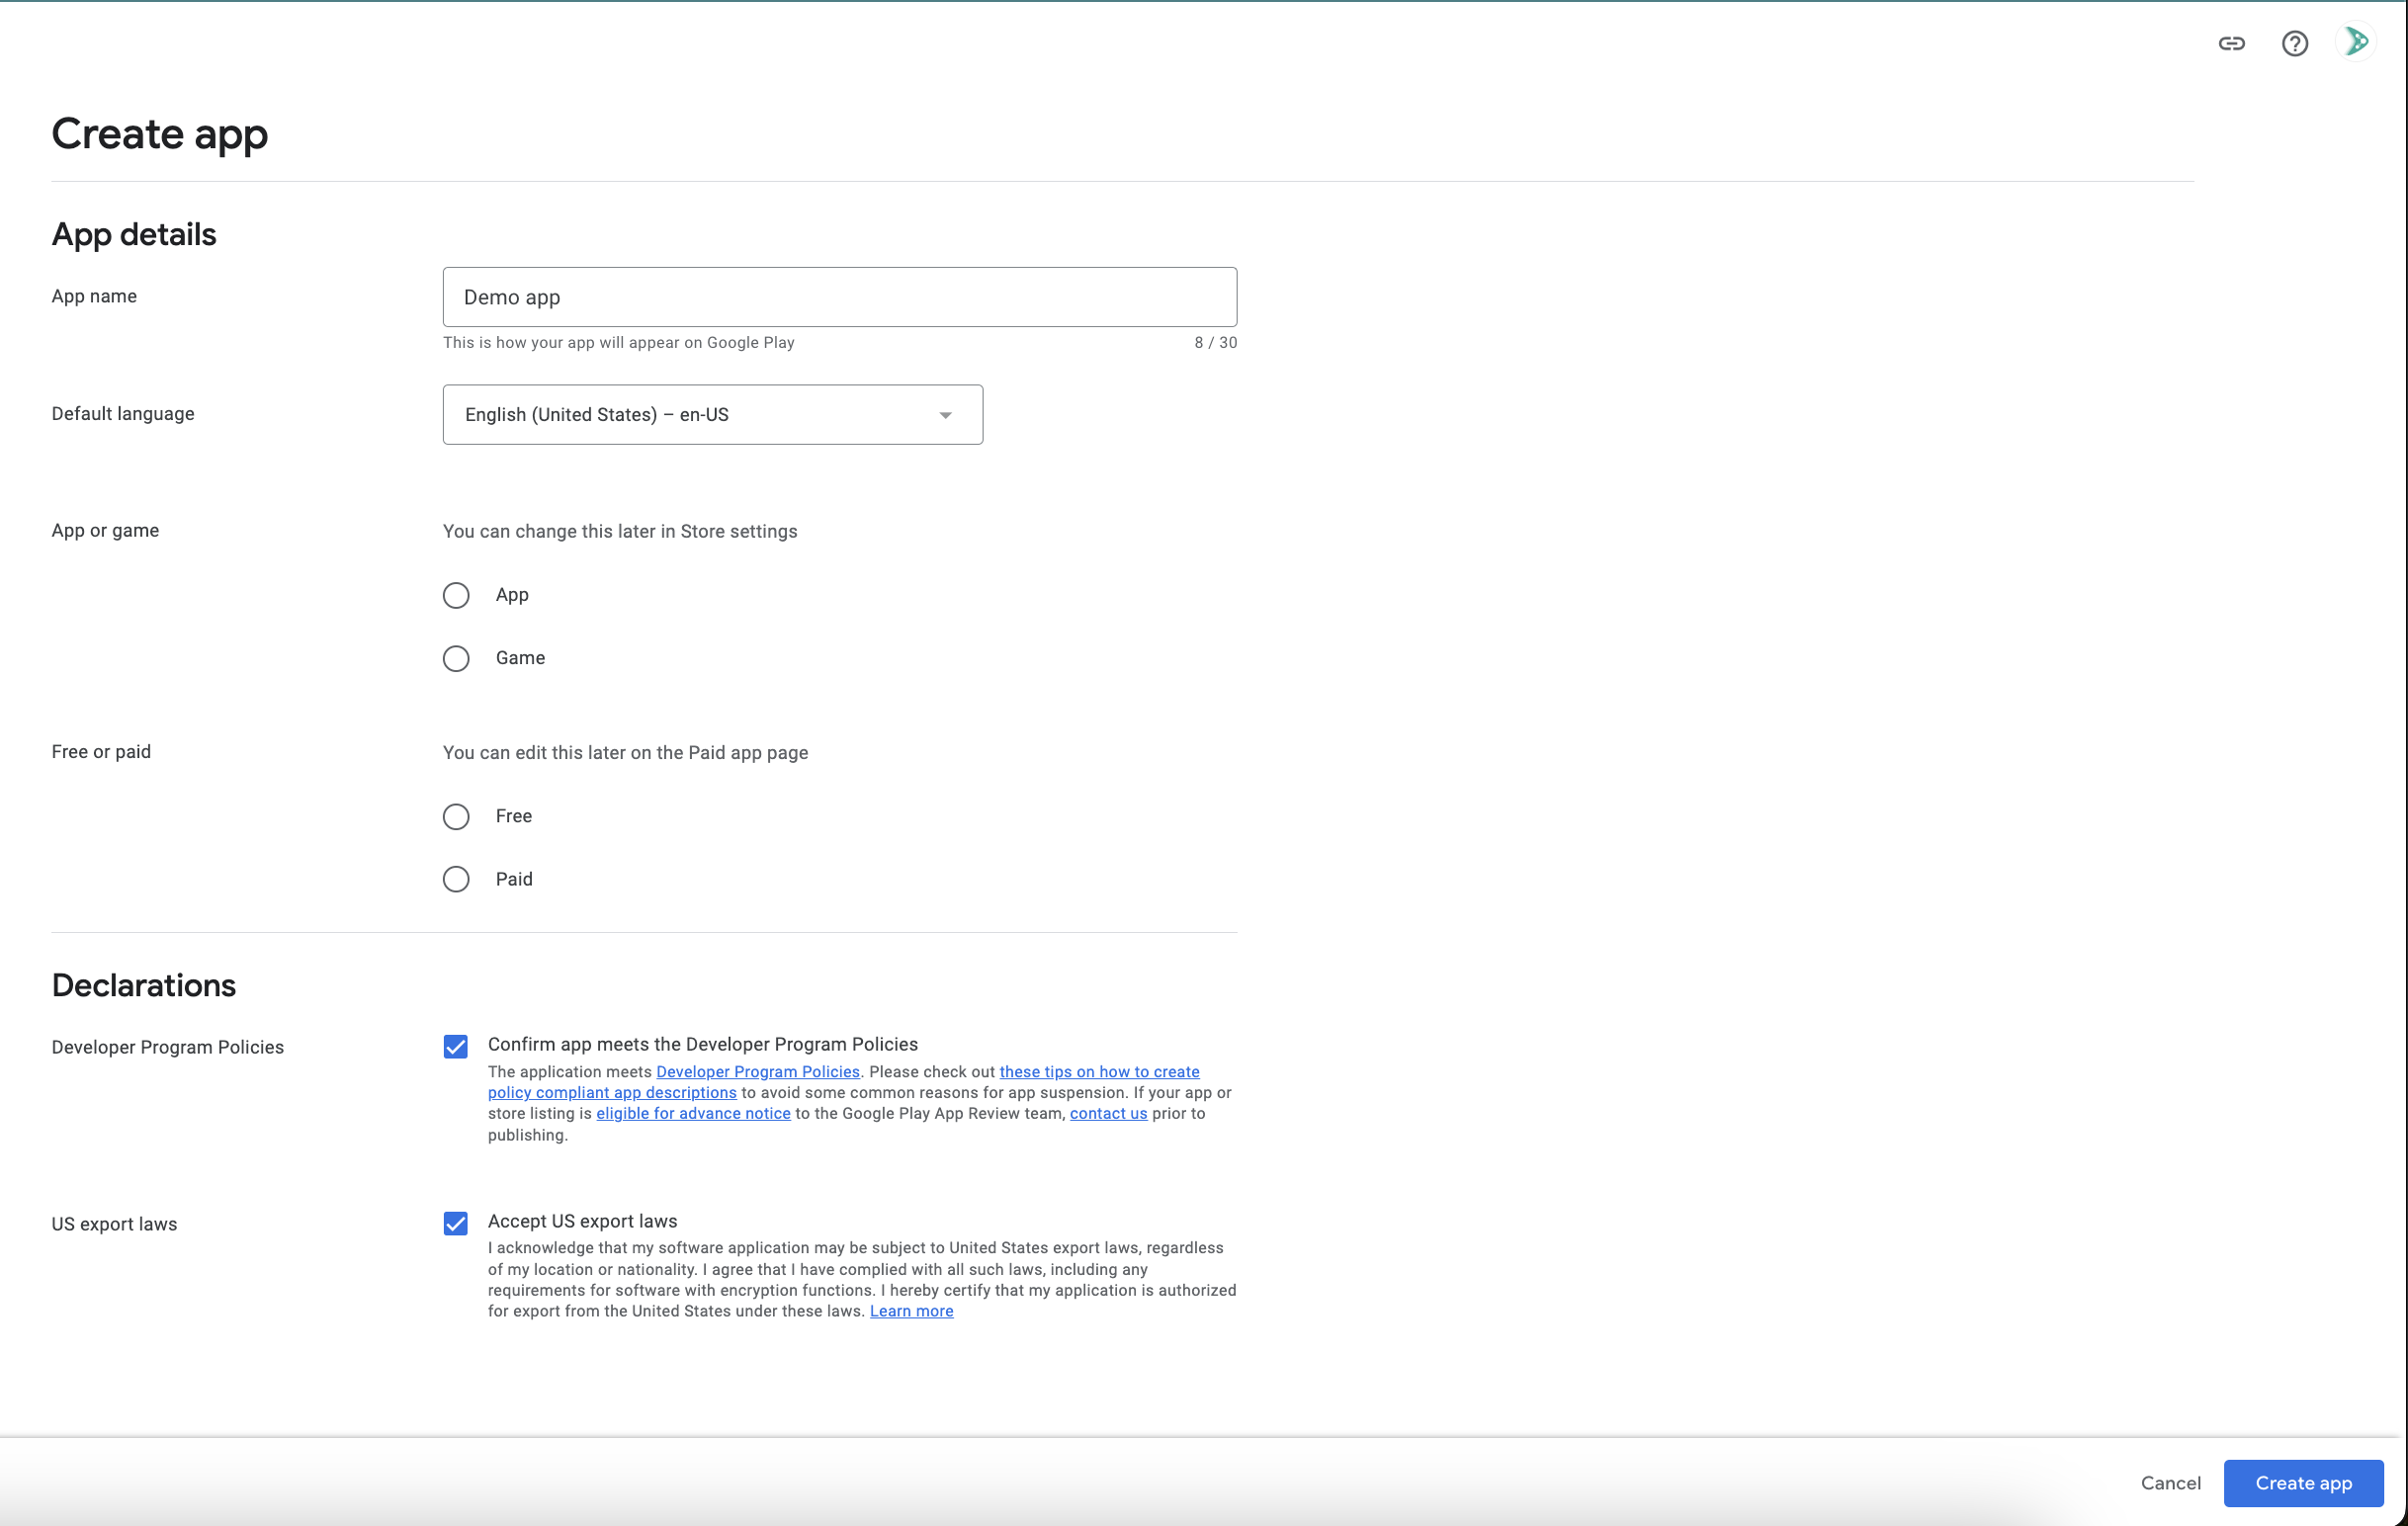
Click on "Create App" in the right.
Fill out app information (title, short description, full description)
Click on create app in the bottom right
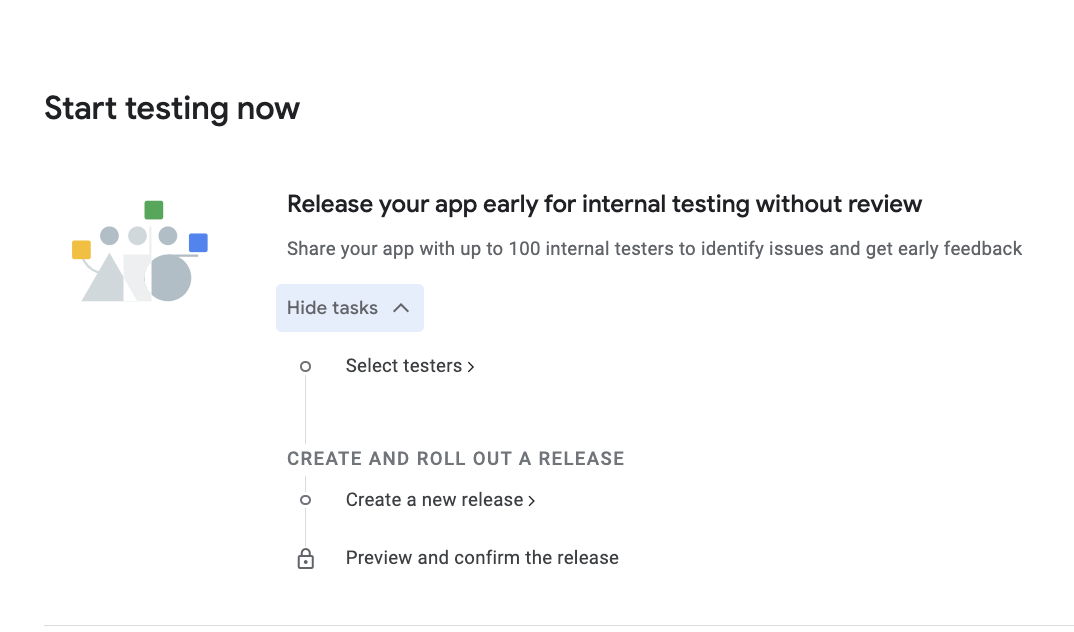
In the next screen, click on "View tasks" under "Start testing now." Select testers and fill out their details in the subsequent screen. Skip "Create a new release," then preview and confirm the release.
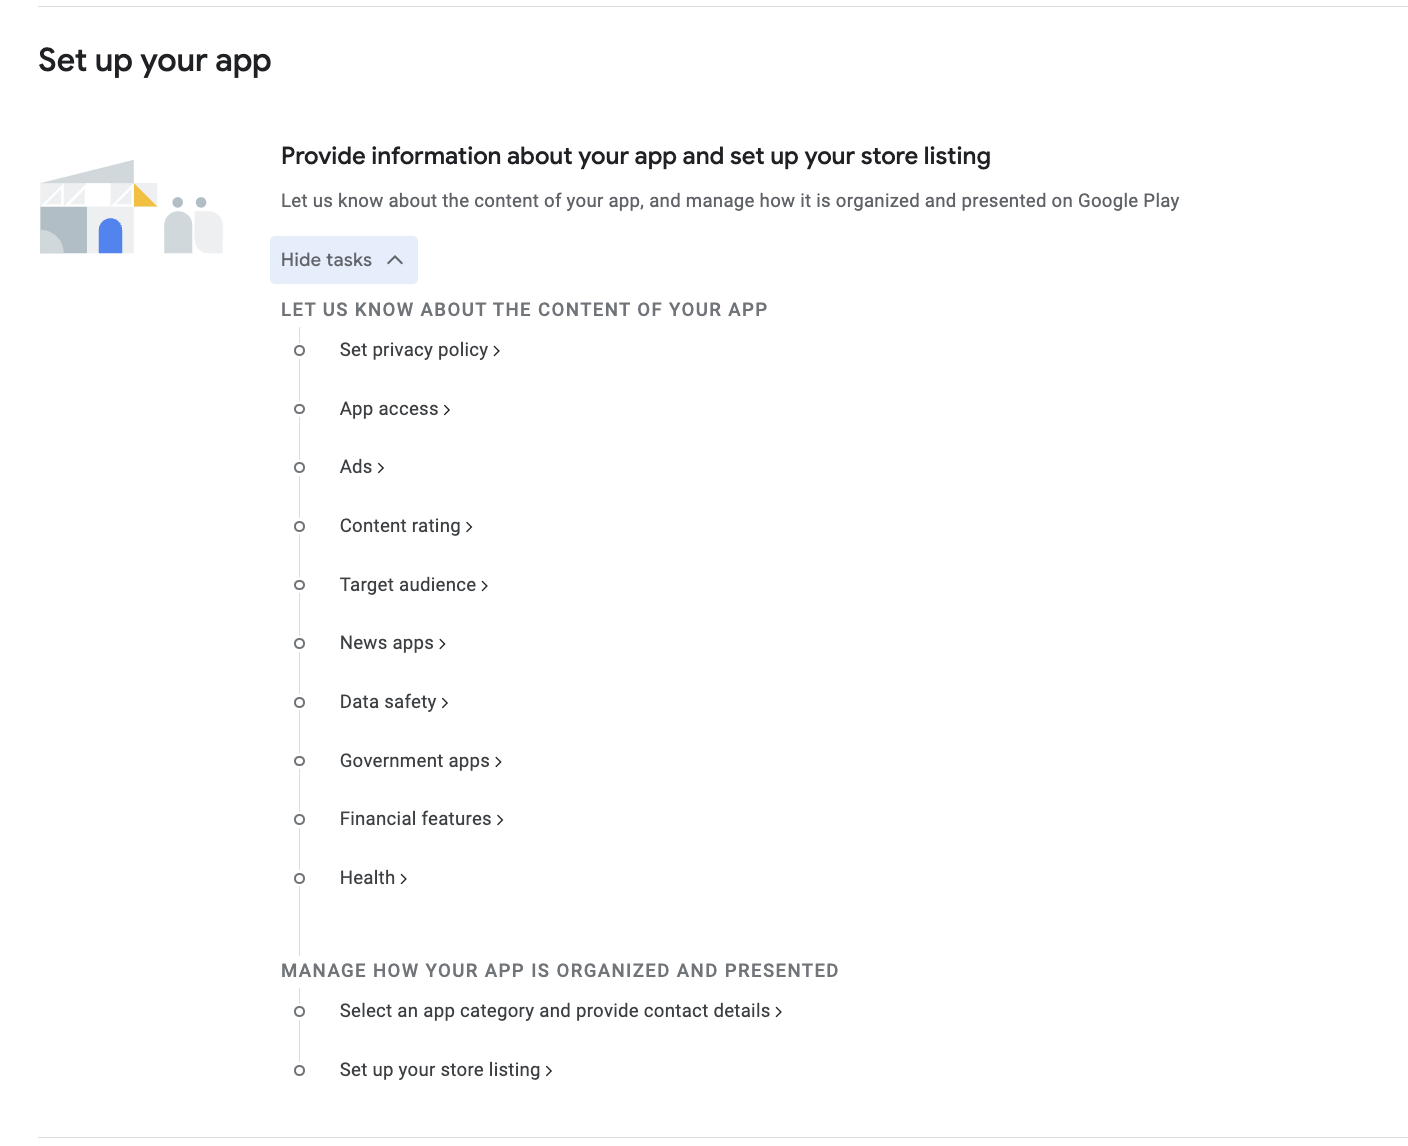
Click on "View tasks" under "Set up your app"
Click on "Set Privacy Policy" and complete the required details
Click on "App access" and select the "All functionality in my app is available without any access restrictions" radio button. Then click "Save" in the bottom right.
Click on "Ads" and select the "No, my app does not contain ads" radio button. Then click "Save" in the bottom right.
Complete the content rating questionnaire to determine your app's appropriate age rating
Click on "Target audience" and complete the details (select "18 and over")
Click on "News app" and complete the details (select "No")
Click on "Government app" and fill out the details (select "No")
Click on "Financial features" and select "My app doesn't provide any financial features"
Click on health and select no
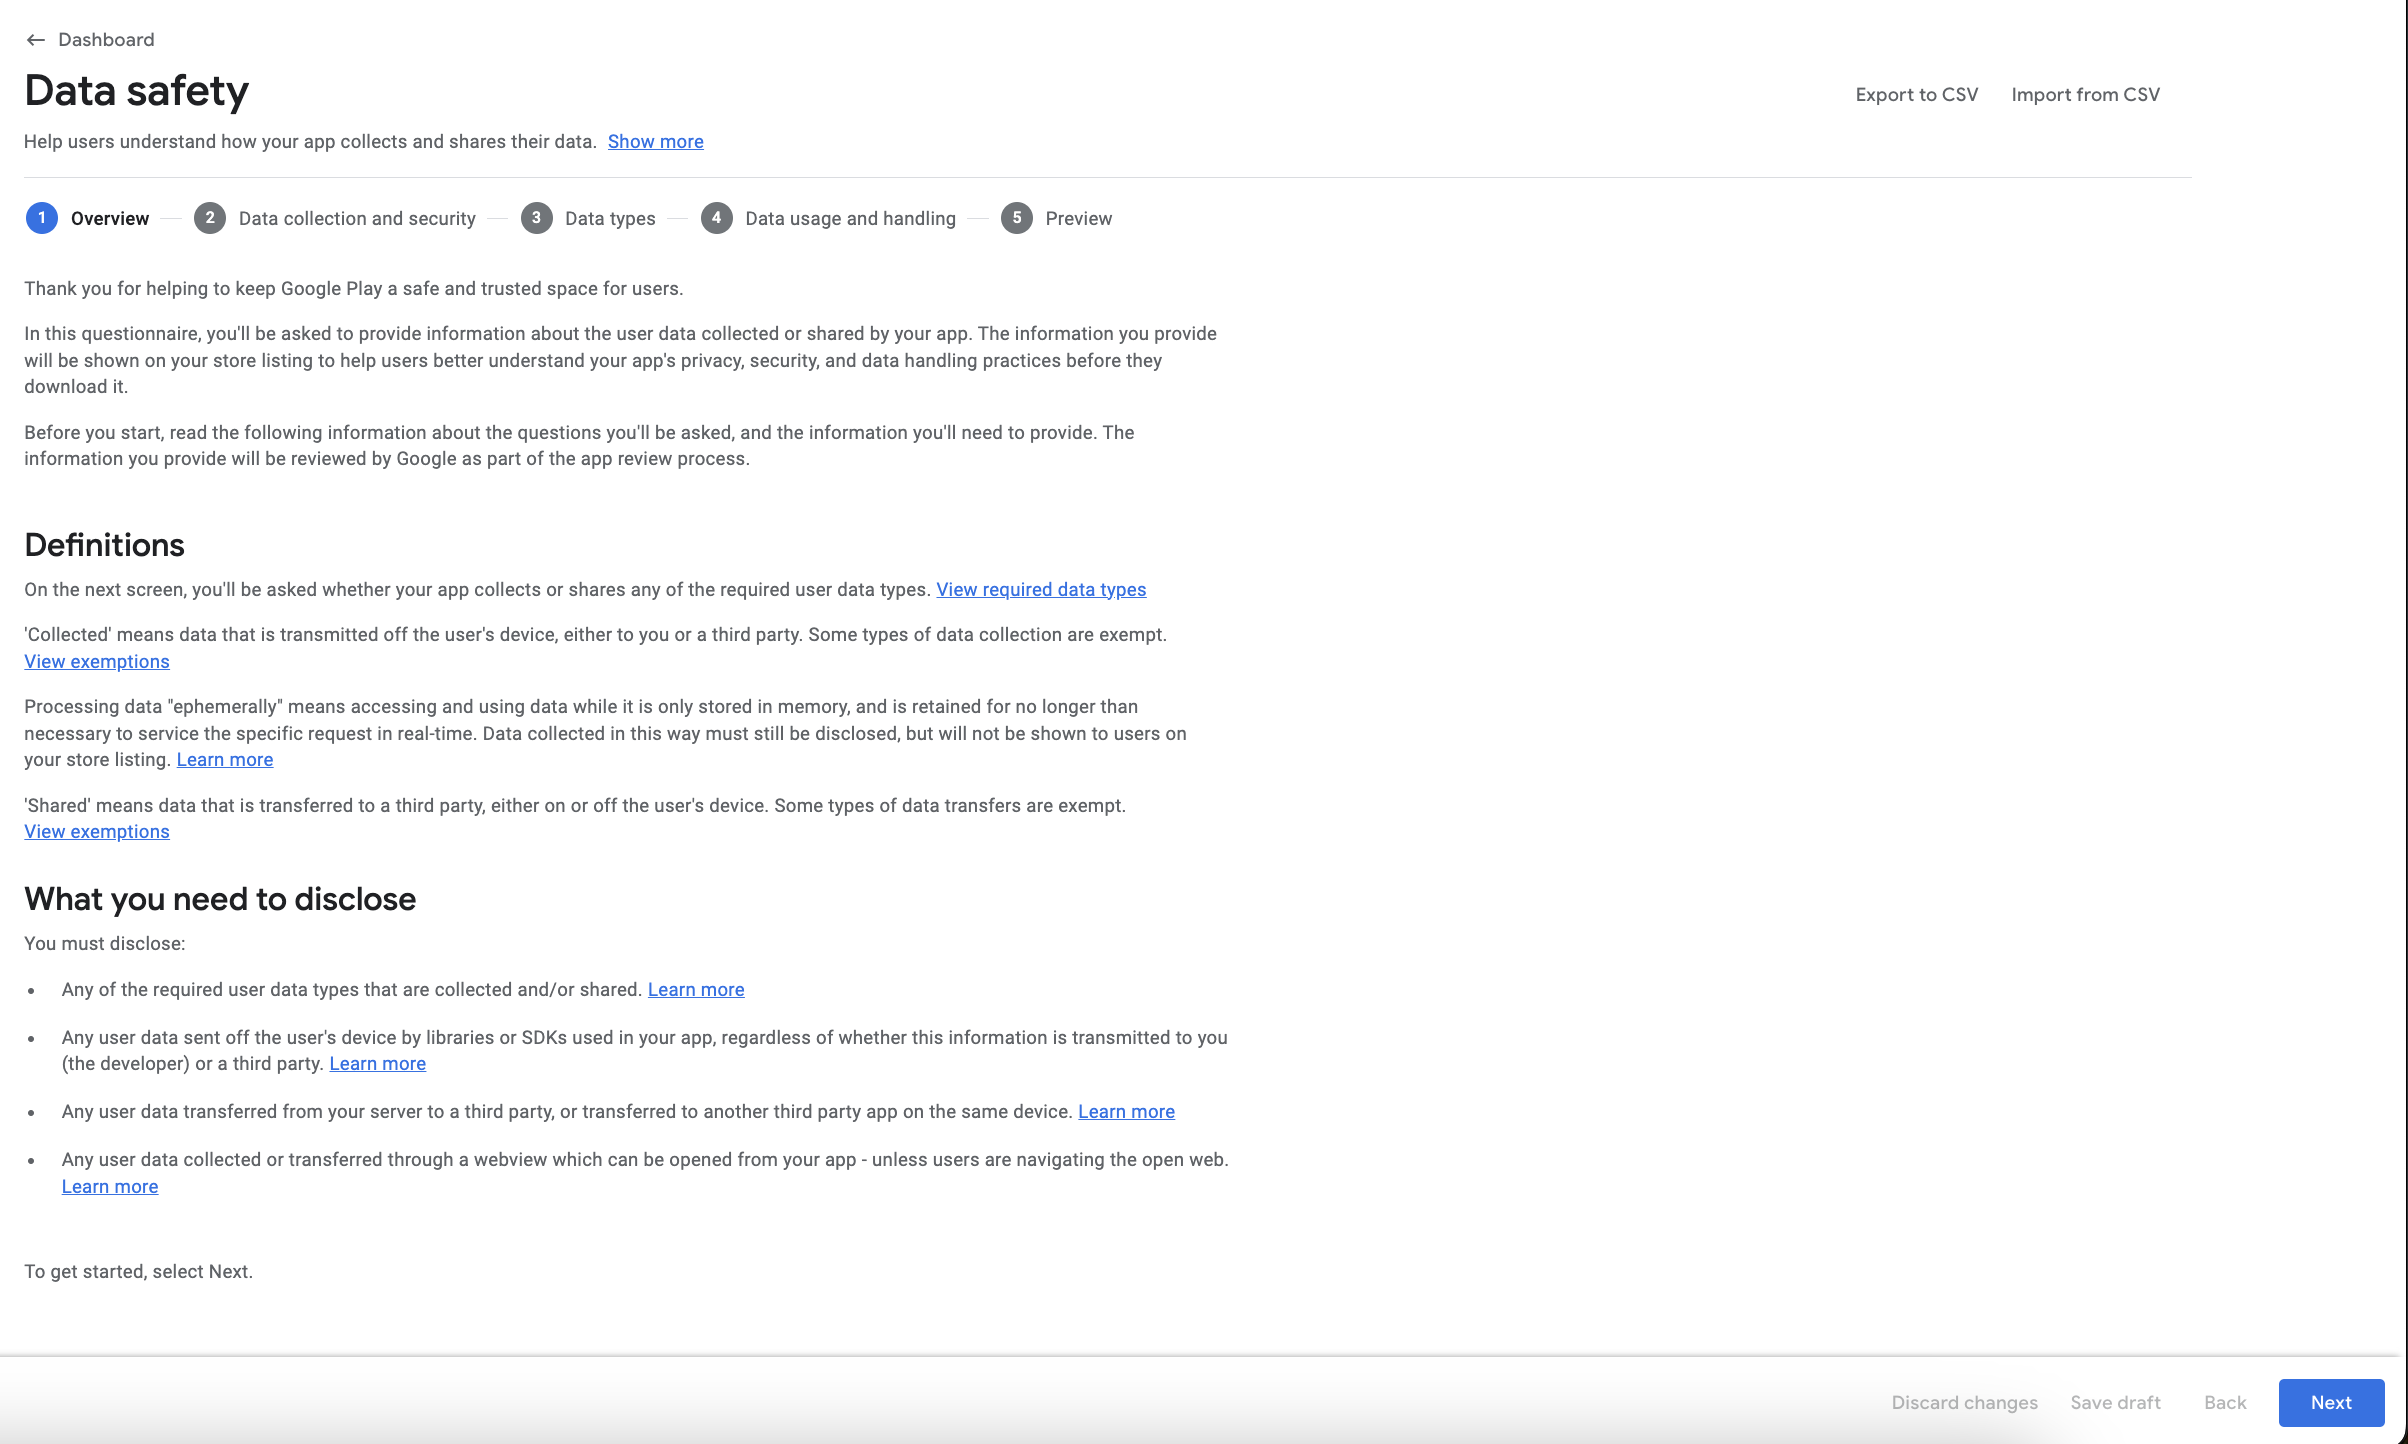
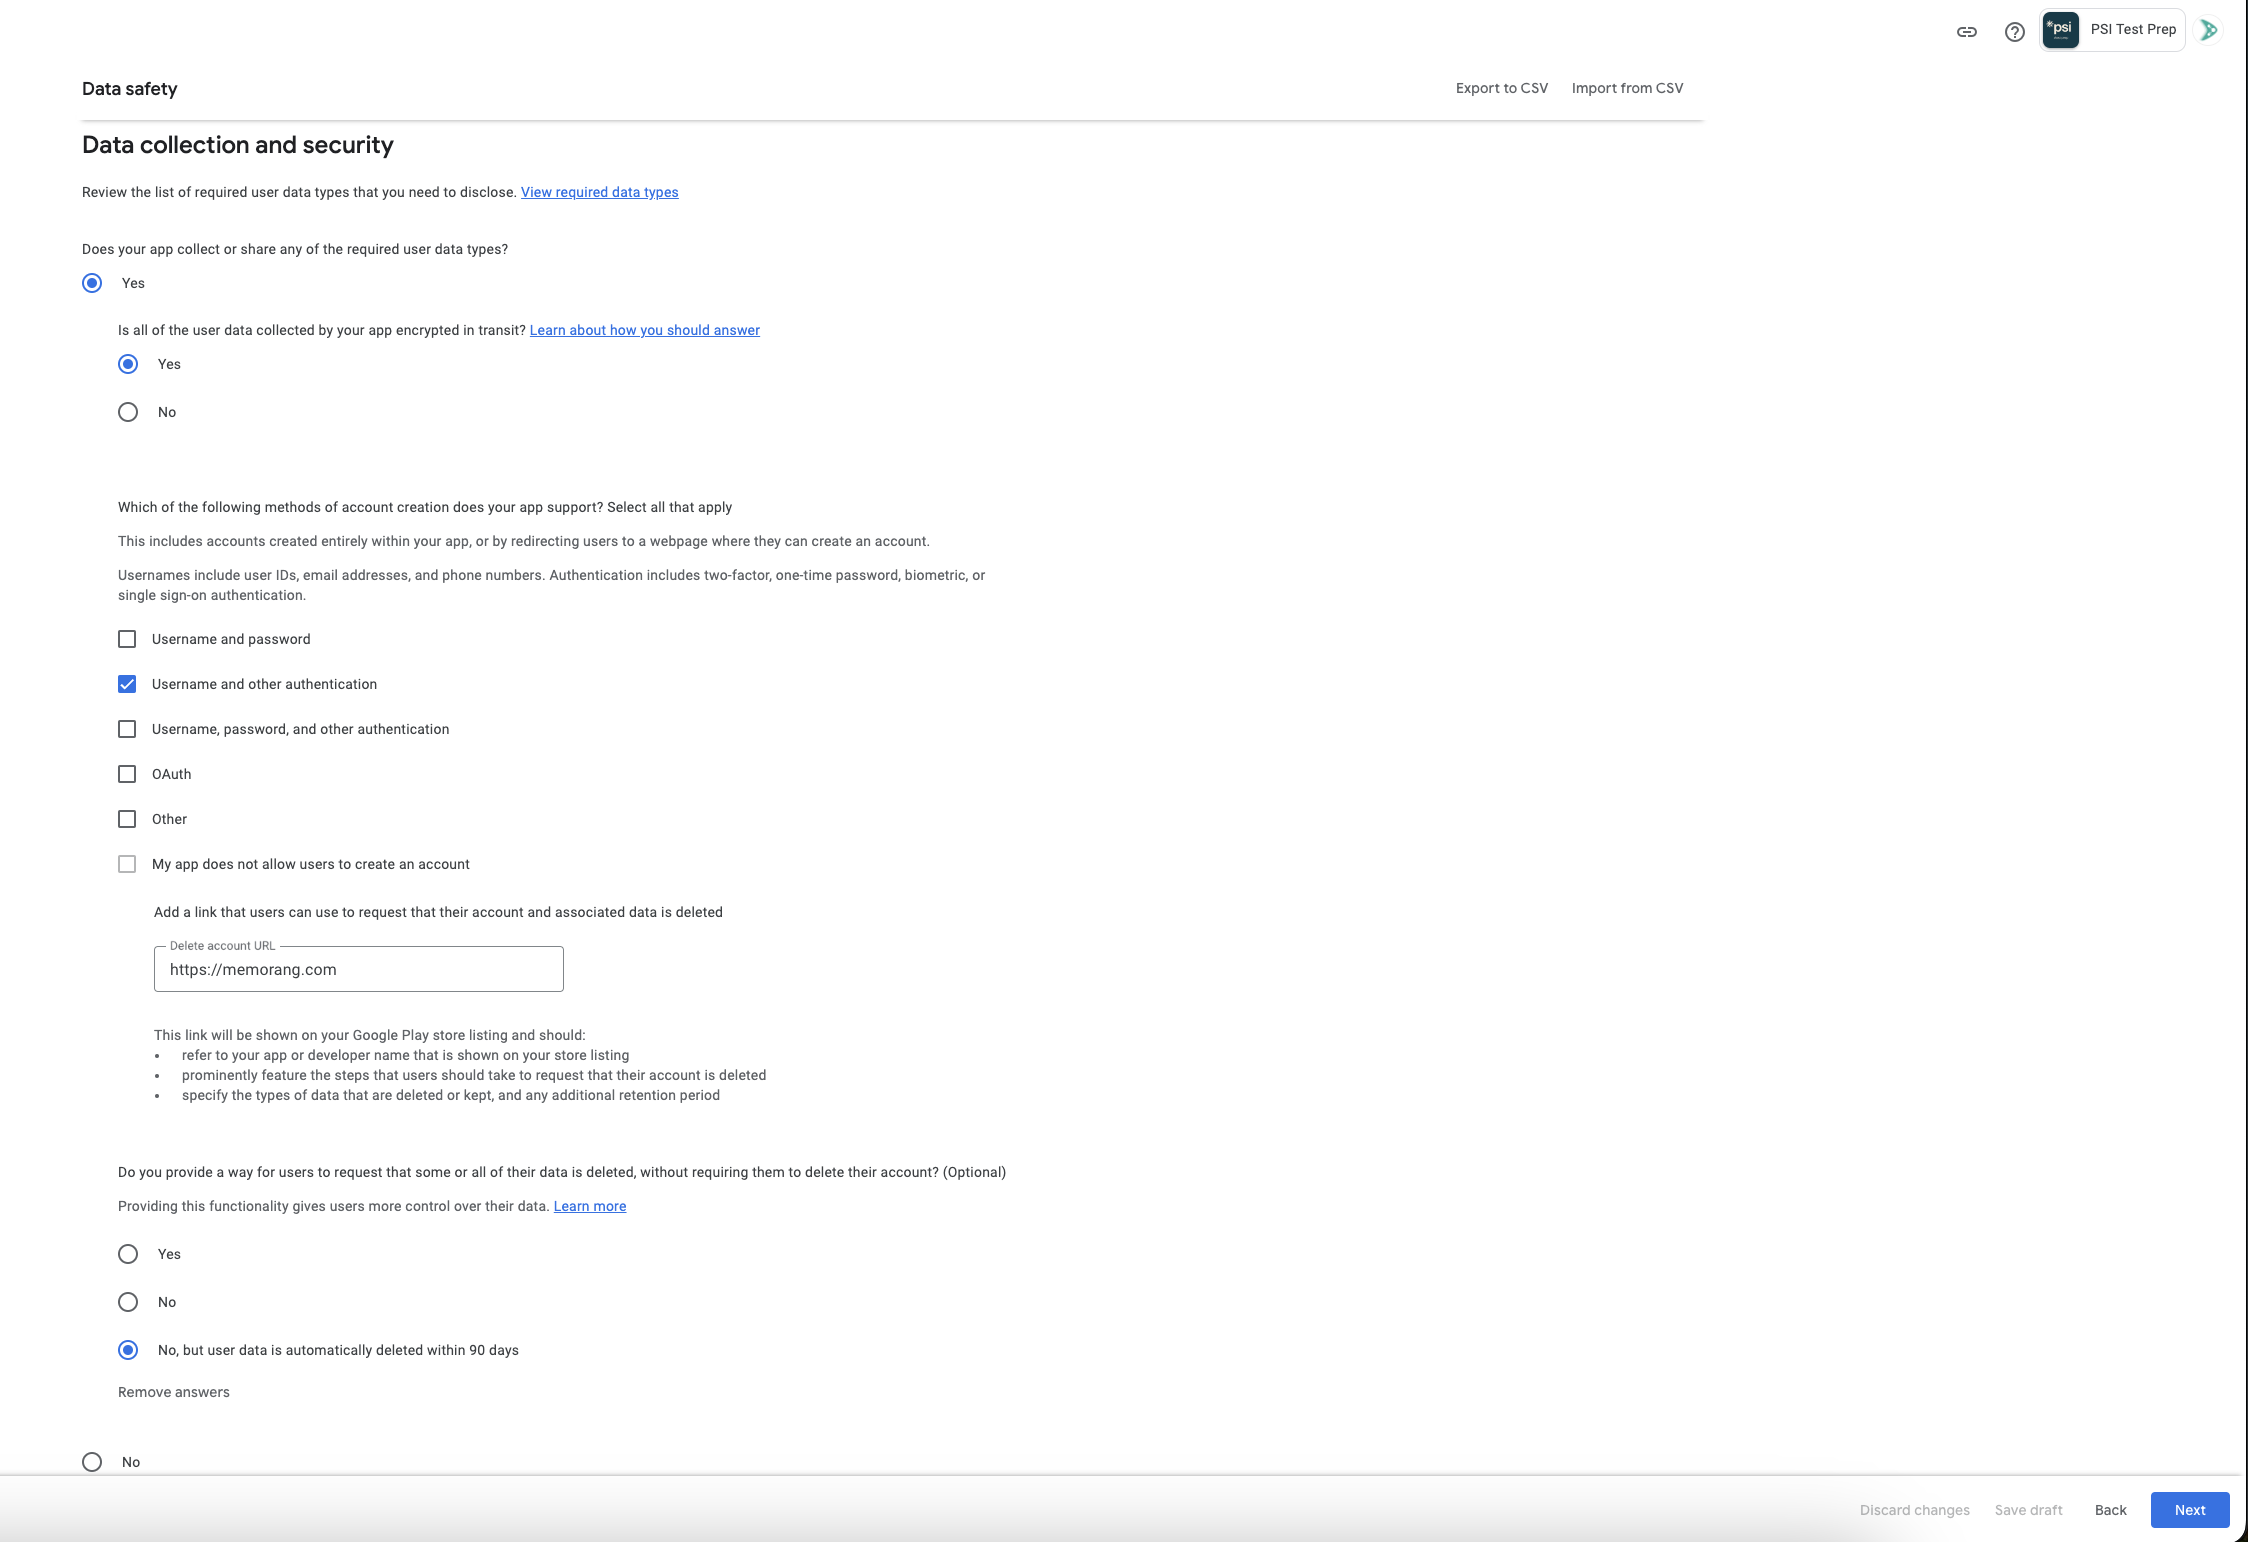
Click on data safety and select next
On the next screen, review the screenshot below and complete the required details. Then click "Next".
For data types related to location, skip this section
Under "Personal info," select "Email address" and "User ID"
Under financial, select Purchase history
Next, skip till contacts
Under "App activity," select "App interaction"
Skip web browsing
Under "App info and performance," select "Crash logs" and "Diagnostics"
Select the "Device or other IDs" checkbox in the last item and click "Next"
Complete data usage handling set up by following this guide
Click "Save" in the bottom right corner of the screen.
Go to the dashboard. Under "Manage how your app is organized and presented," select "Select an app category and provide contact details." Fill out the required information and click "Save."
Select "Set up store listing" and complete all required details