How to Generate Access Codes
📋 Prerequisites
Before we begin, ensure you have:
Access to your Hub account
Proper permissions to your projects and Edspace service
1. Accessing the Access Code Page
Follow these steps to reach the access code section:
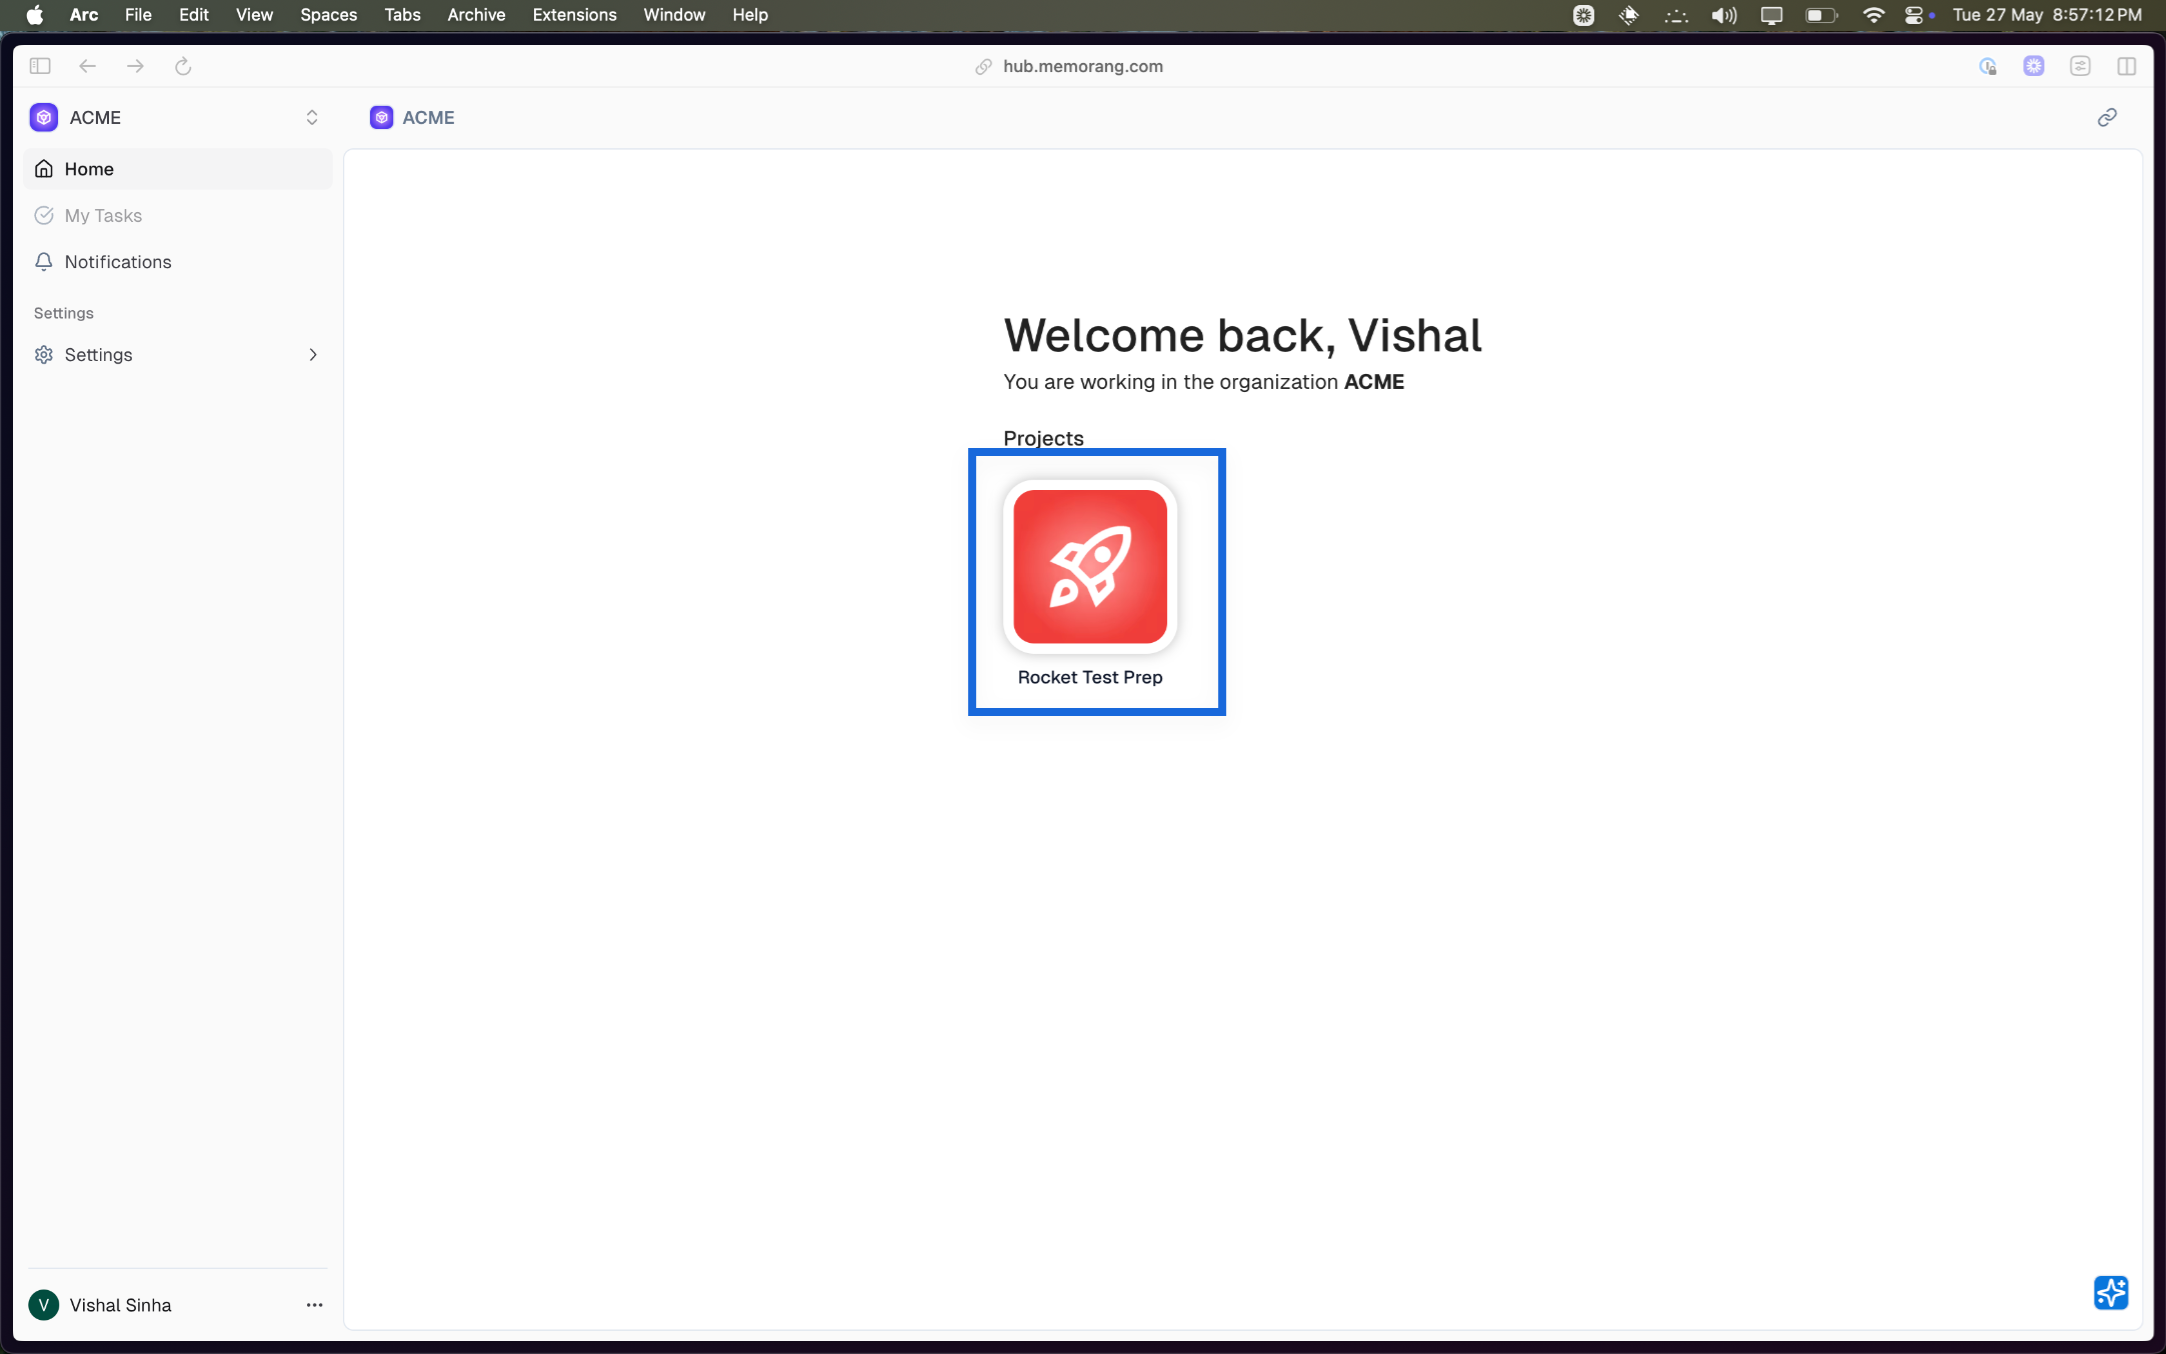
Navigate to your project dashboard and clisck on your project
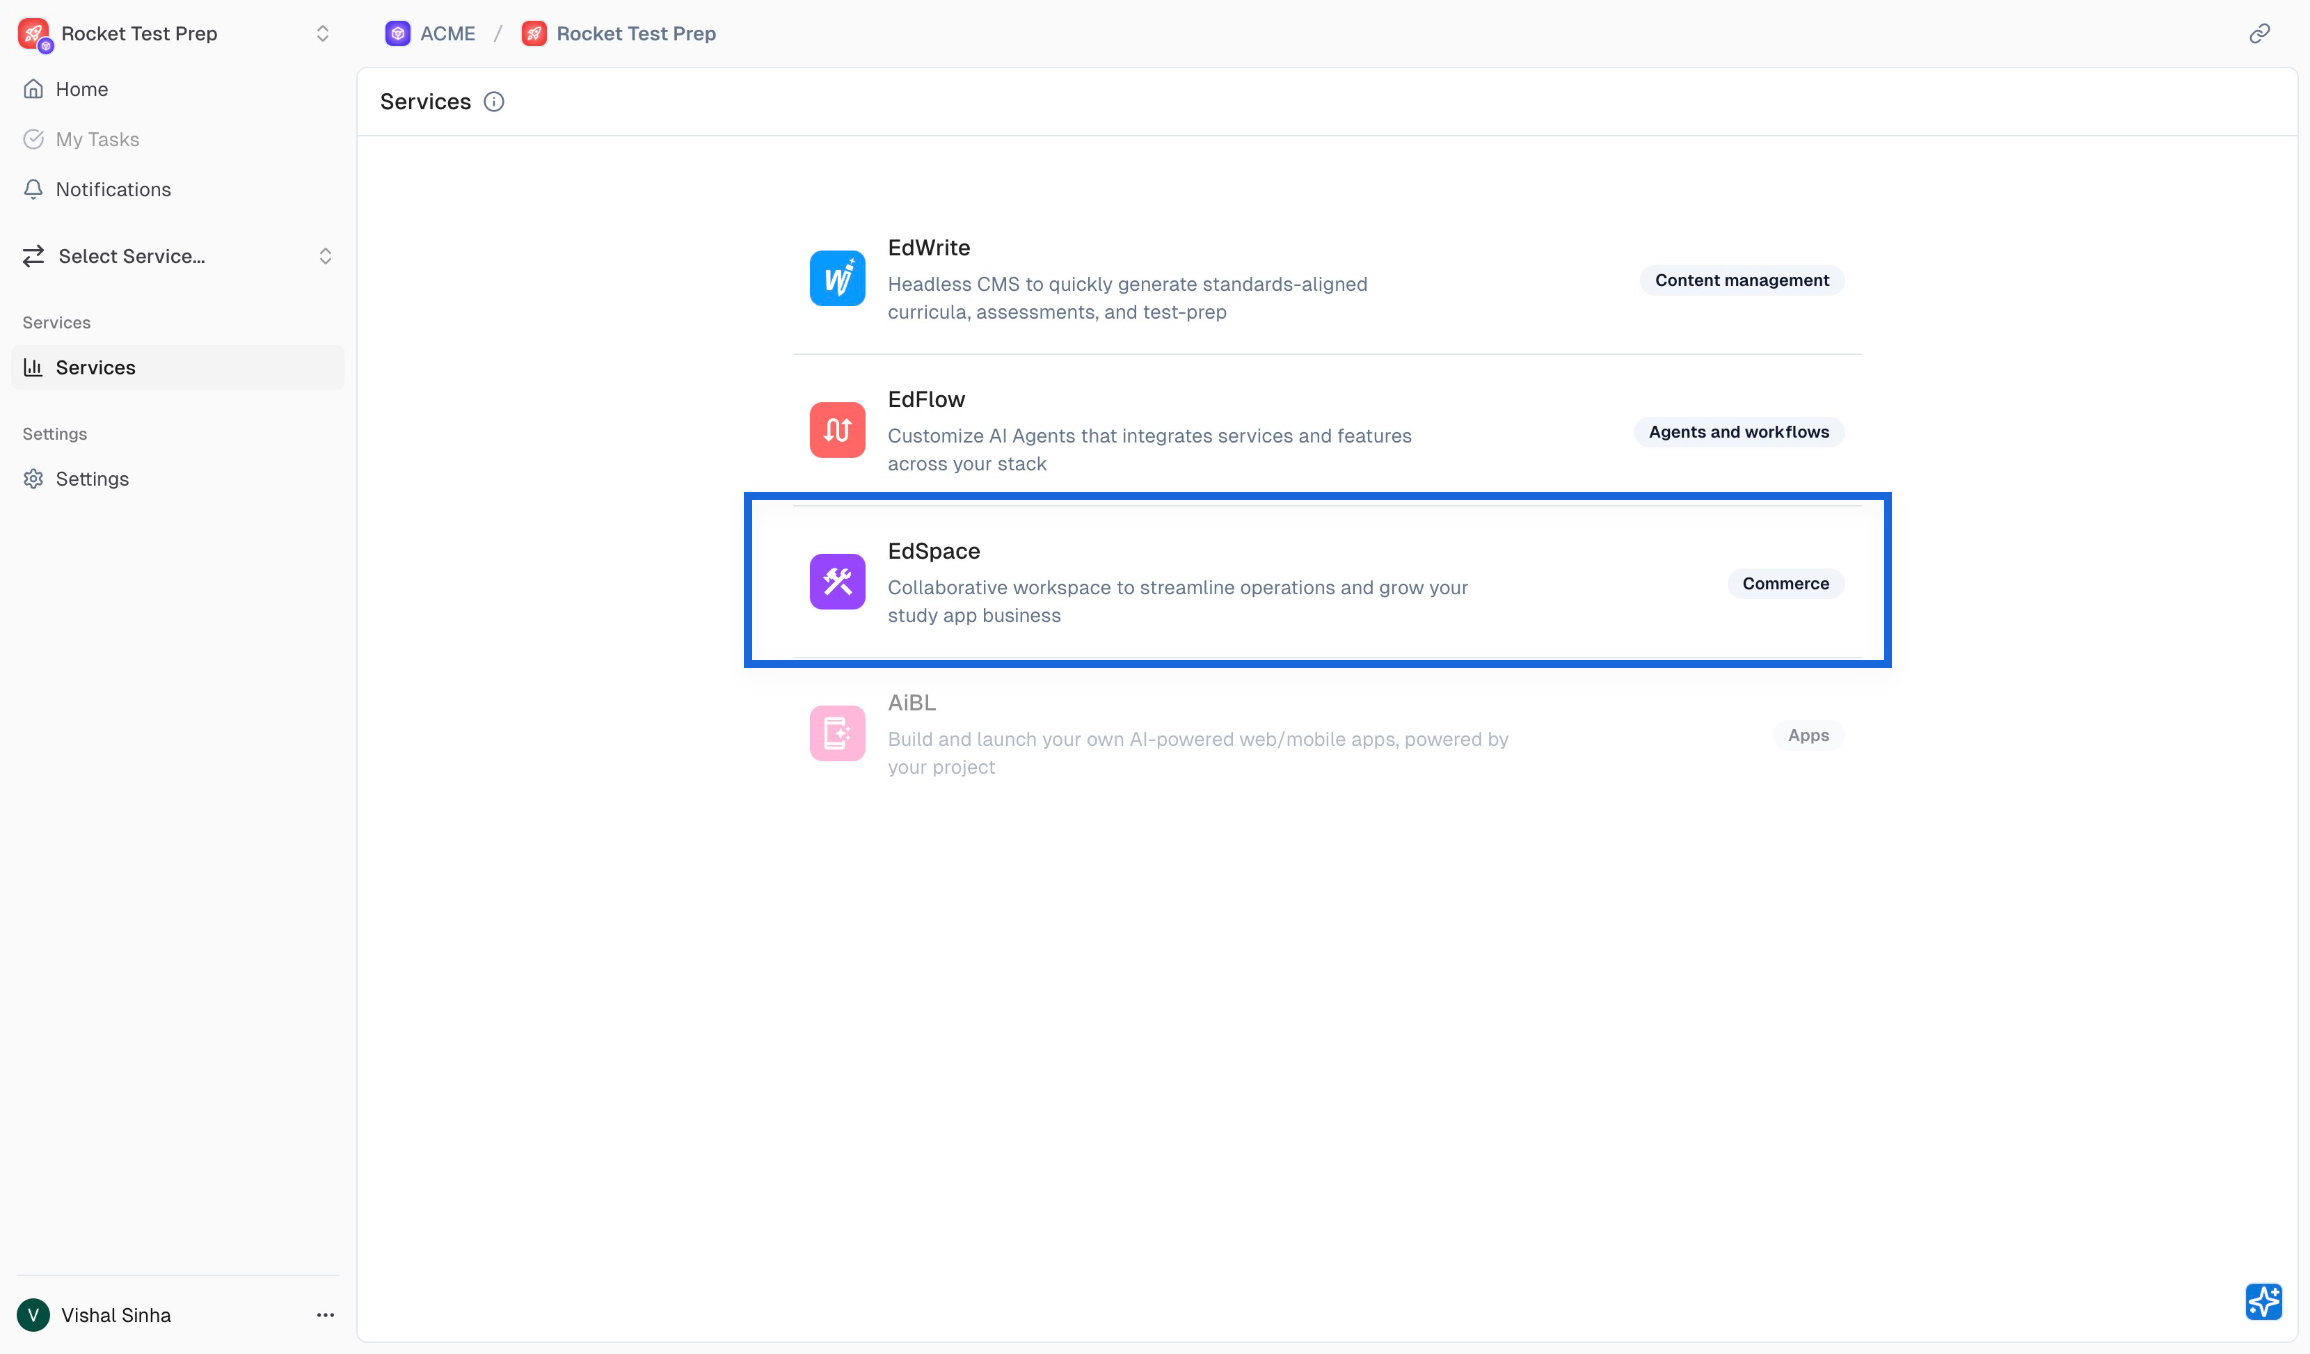
Select Edspace from the listed services
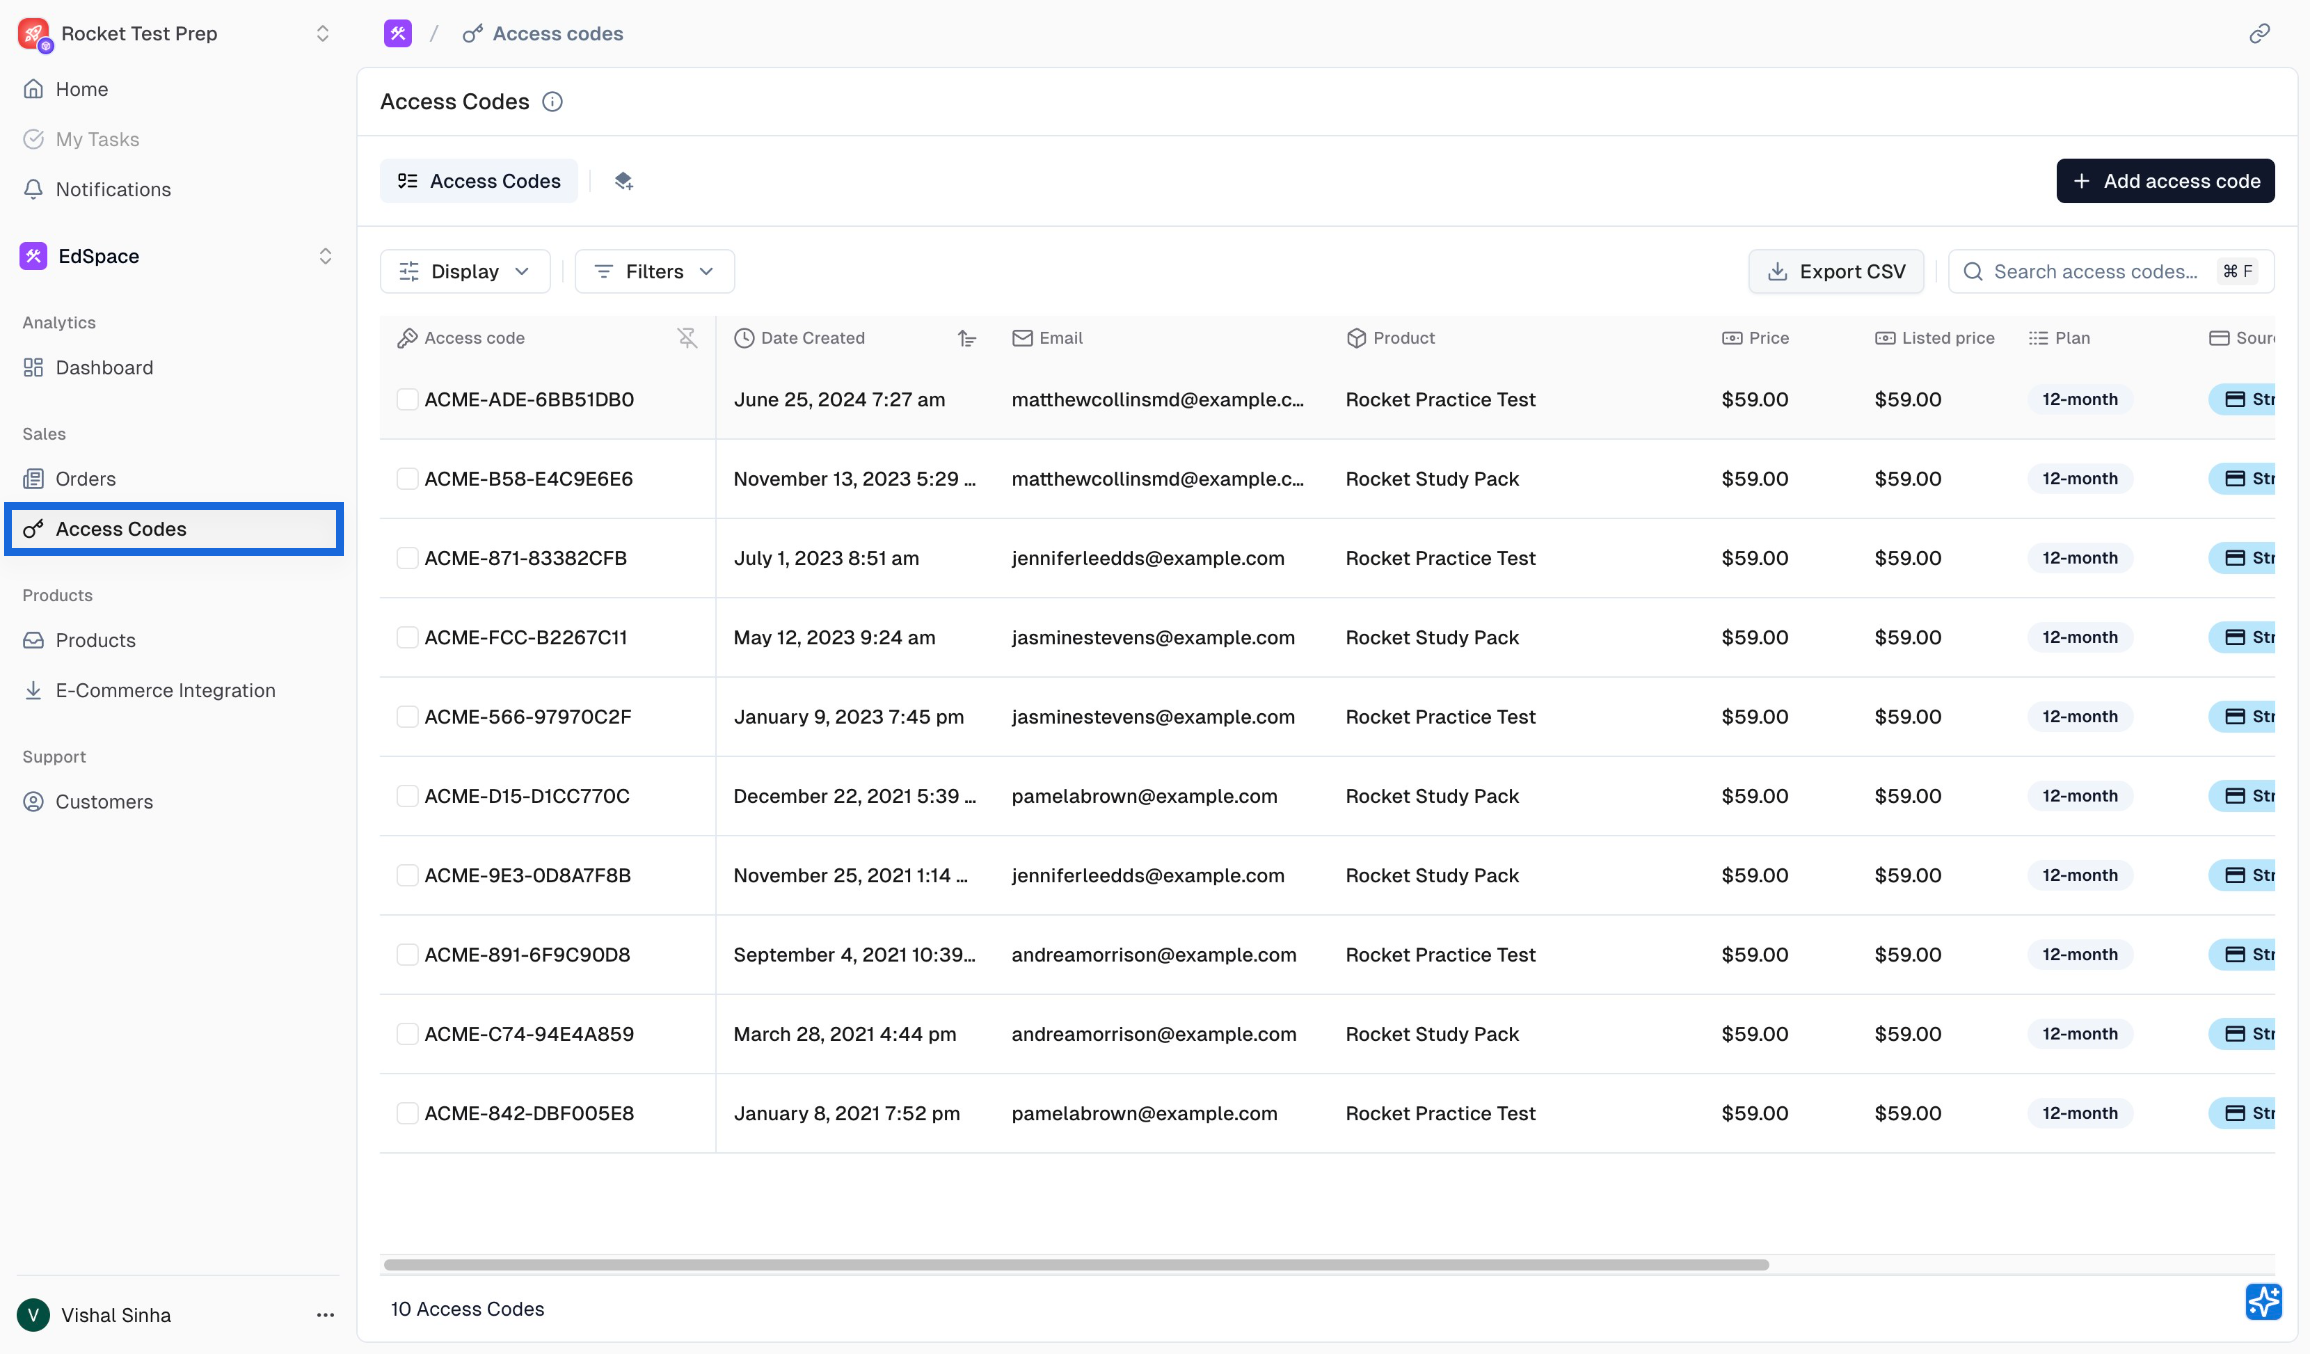
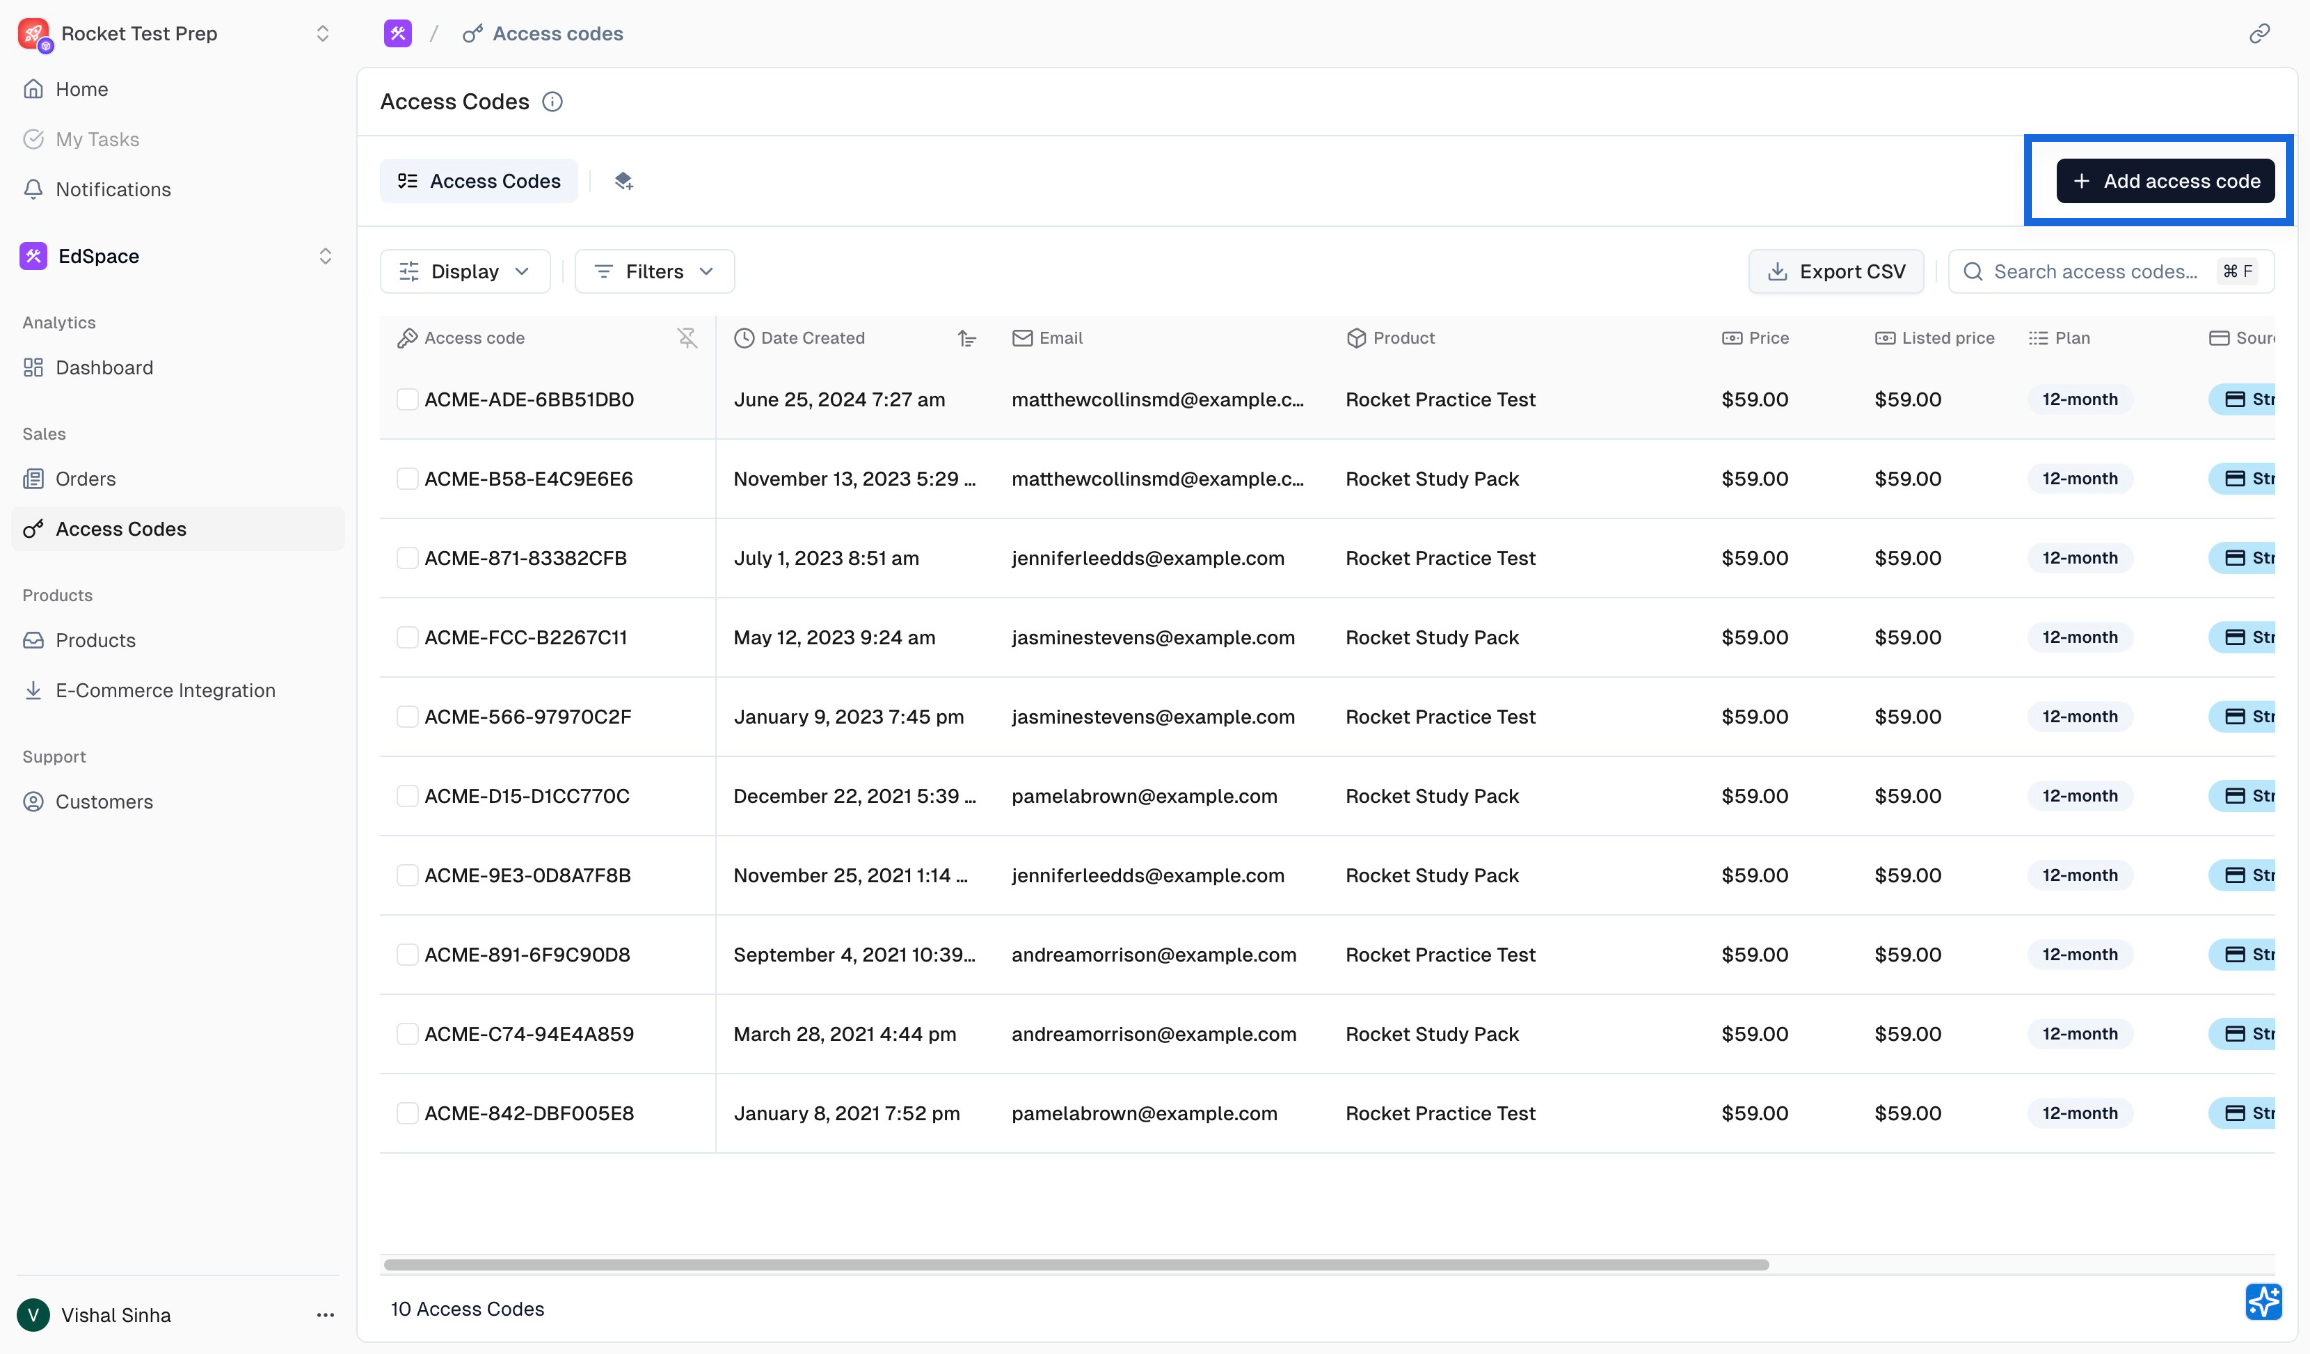
Click on the Access Codes section under Sales heading from left pane
2. Access Code Creation
Access codes can be generated in two ways: standard generation for individual or small batches, and bulk generation for large quantities of codes.
<aside> 💡 Info: Only 2000 access codes can be created at max in one batch.
</aside>
2.1 Standard Generation ( < 150 codes )
Click on
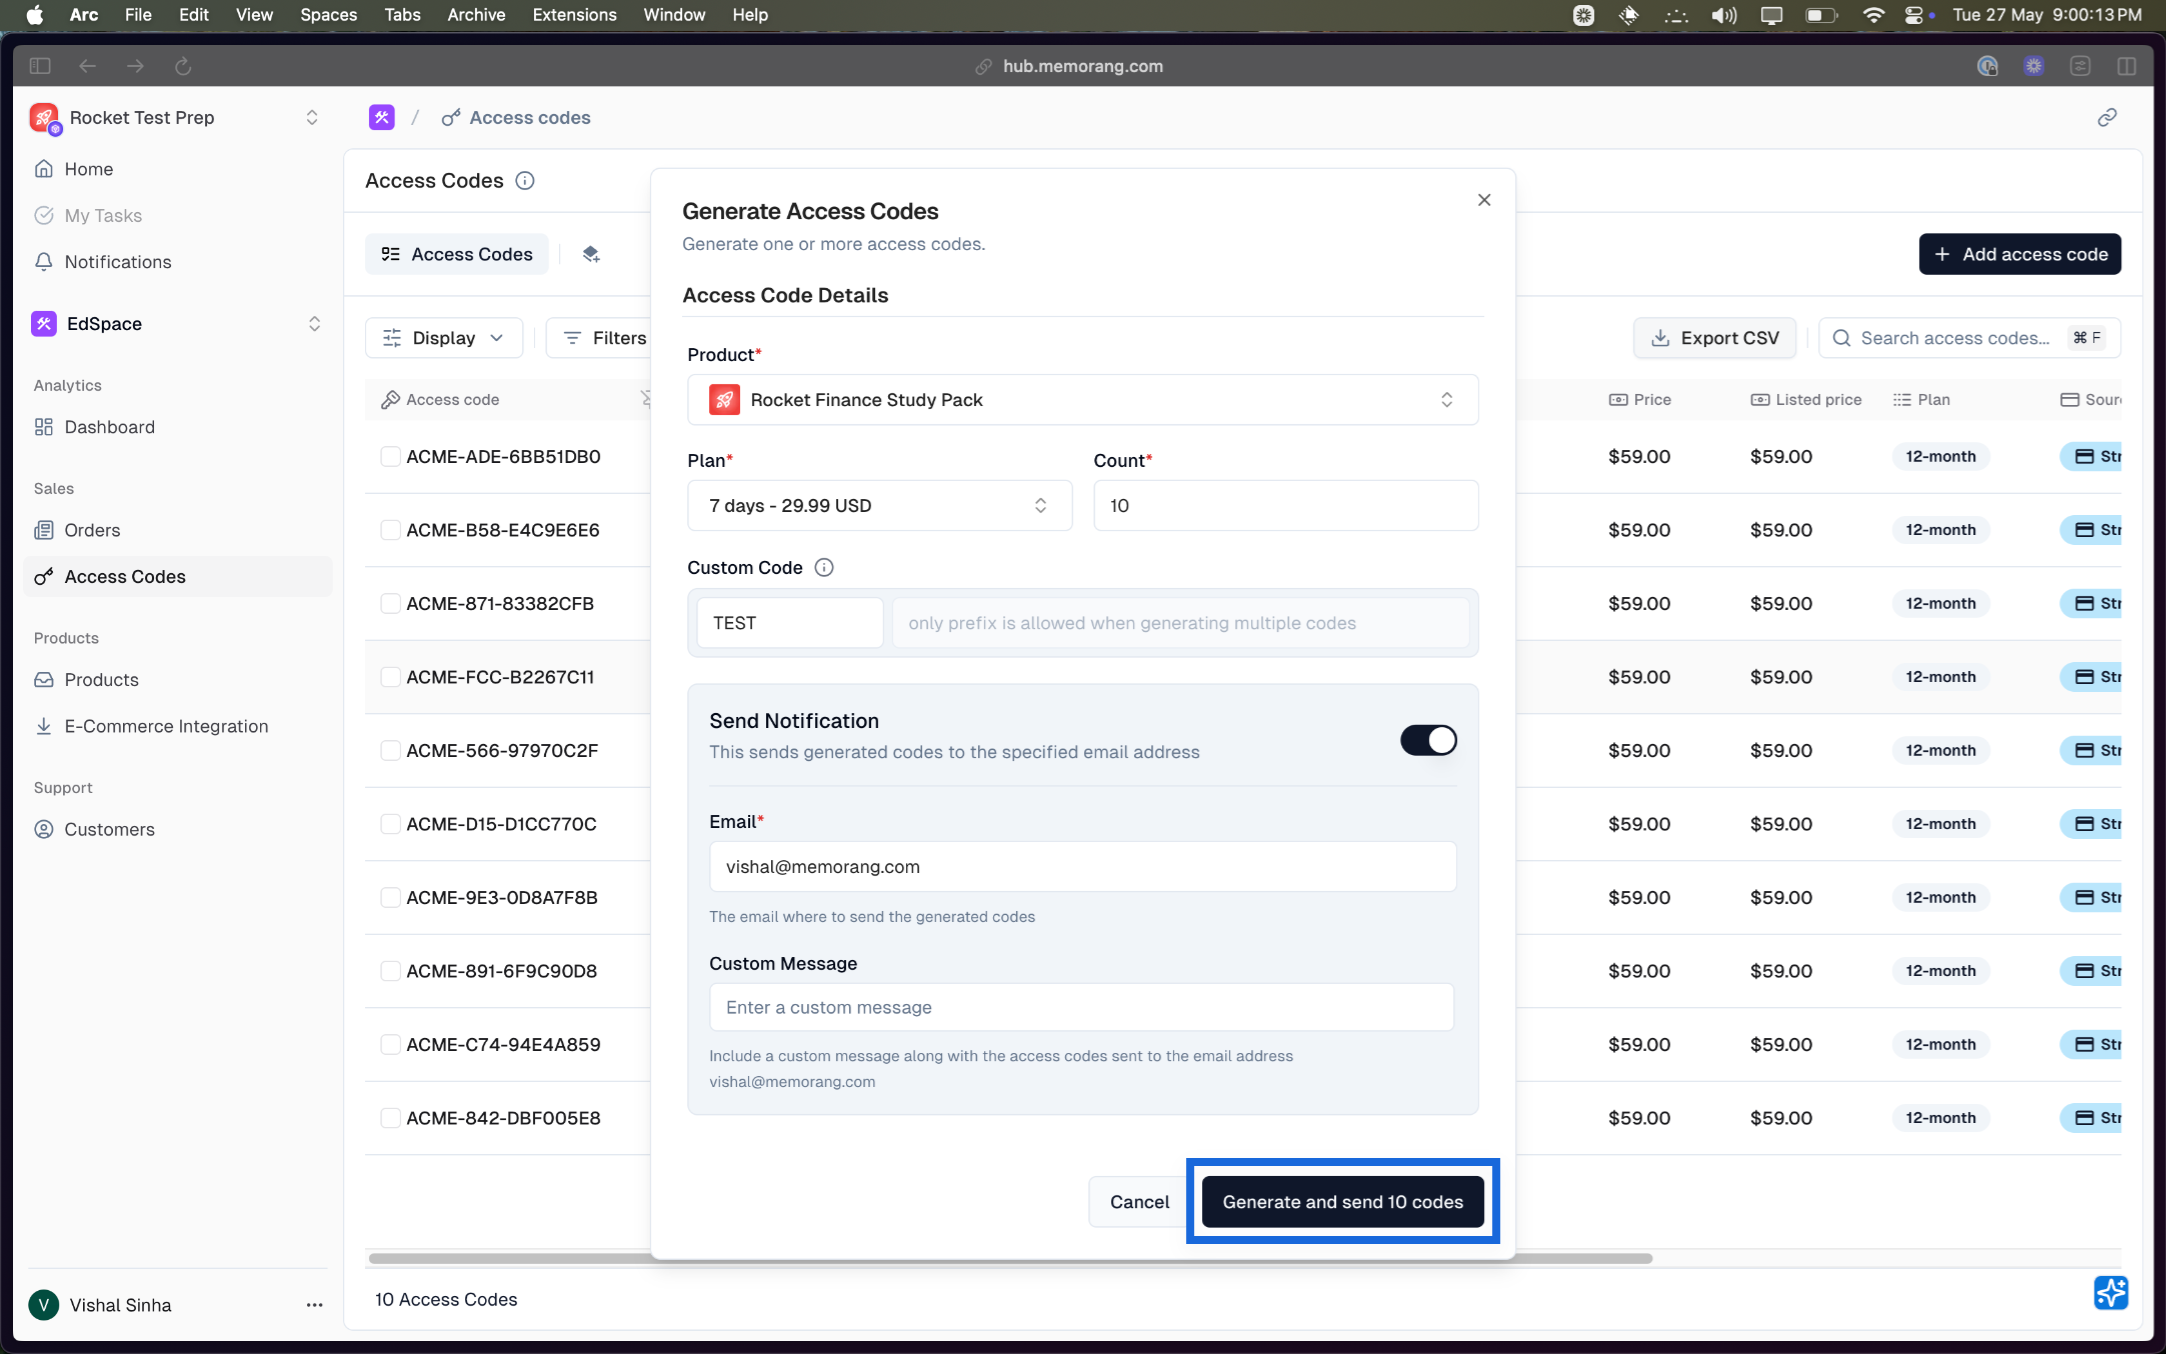
Add access codebuttonIt’ll open up a modal where you can
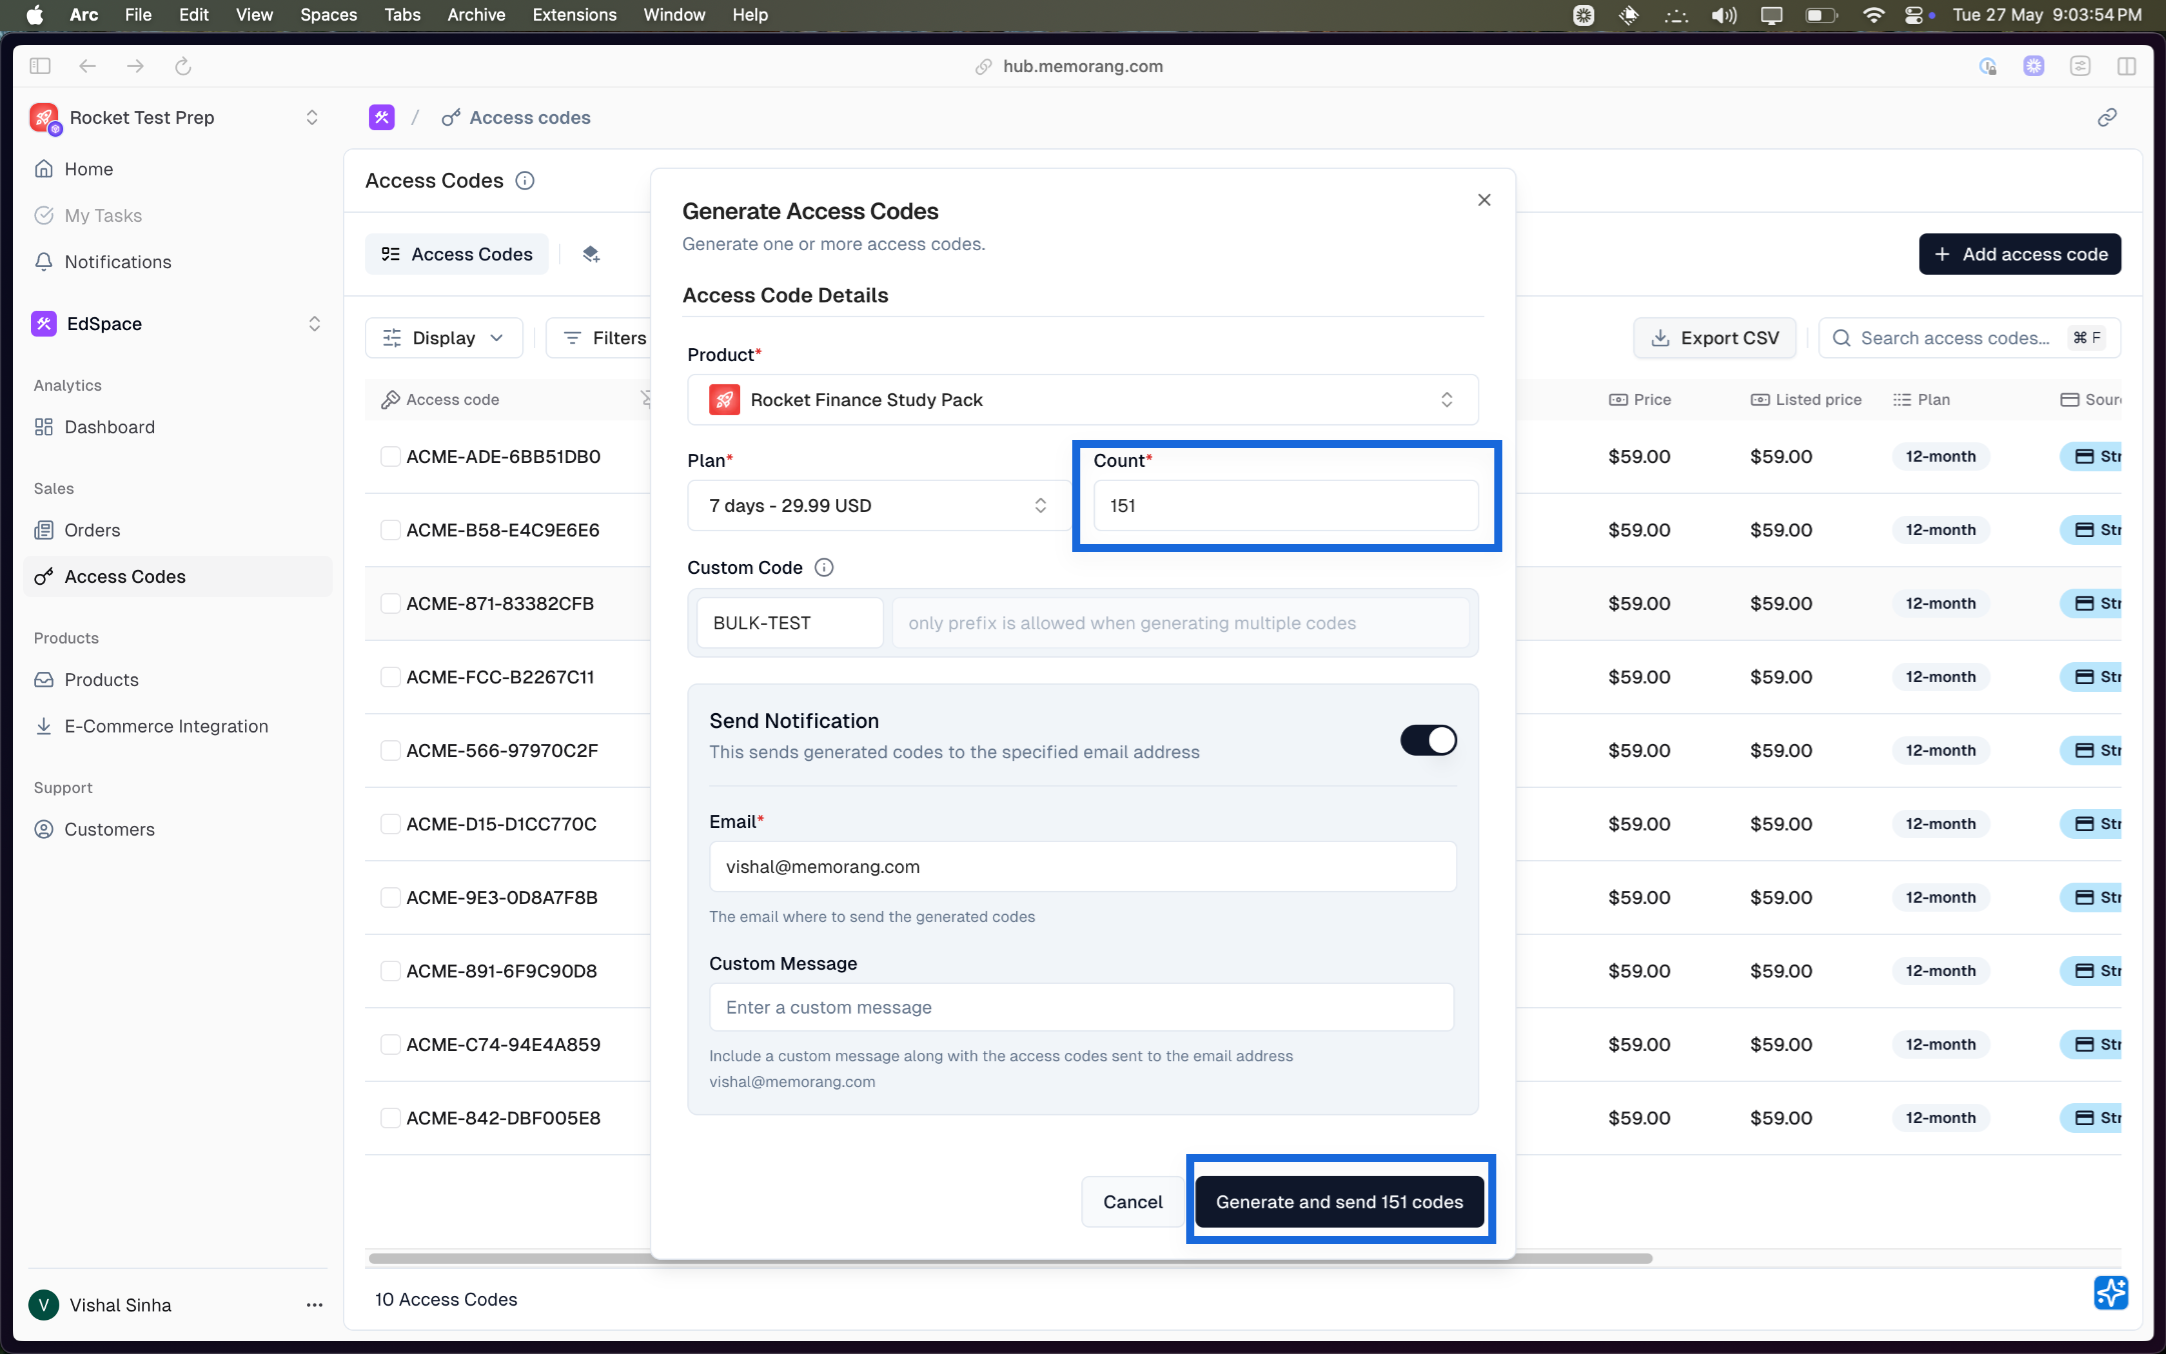
Select the product for which you want to generate the access code
Select one of the available plans
Input the number of codes you want generate
Toggle the
Send Notificationbutton based on whether you want receive the same set of access codes to your email or not.Finally, click on the
Generatebutton to trigger the generation.
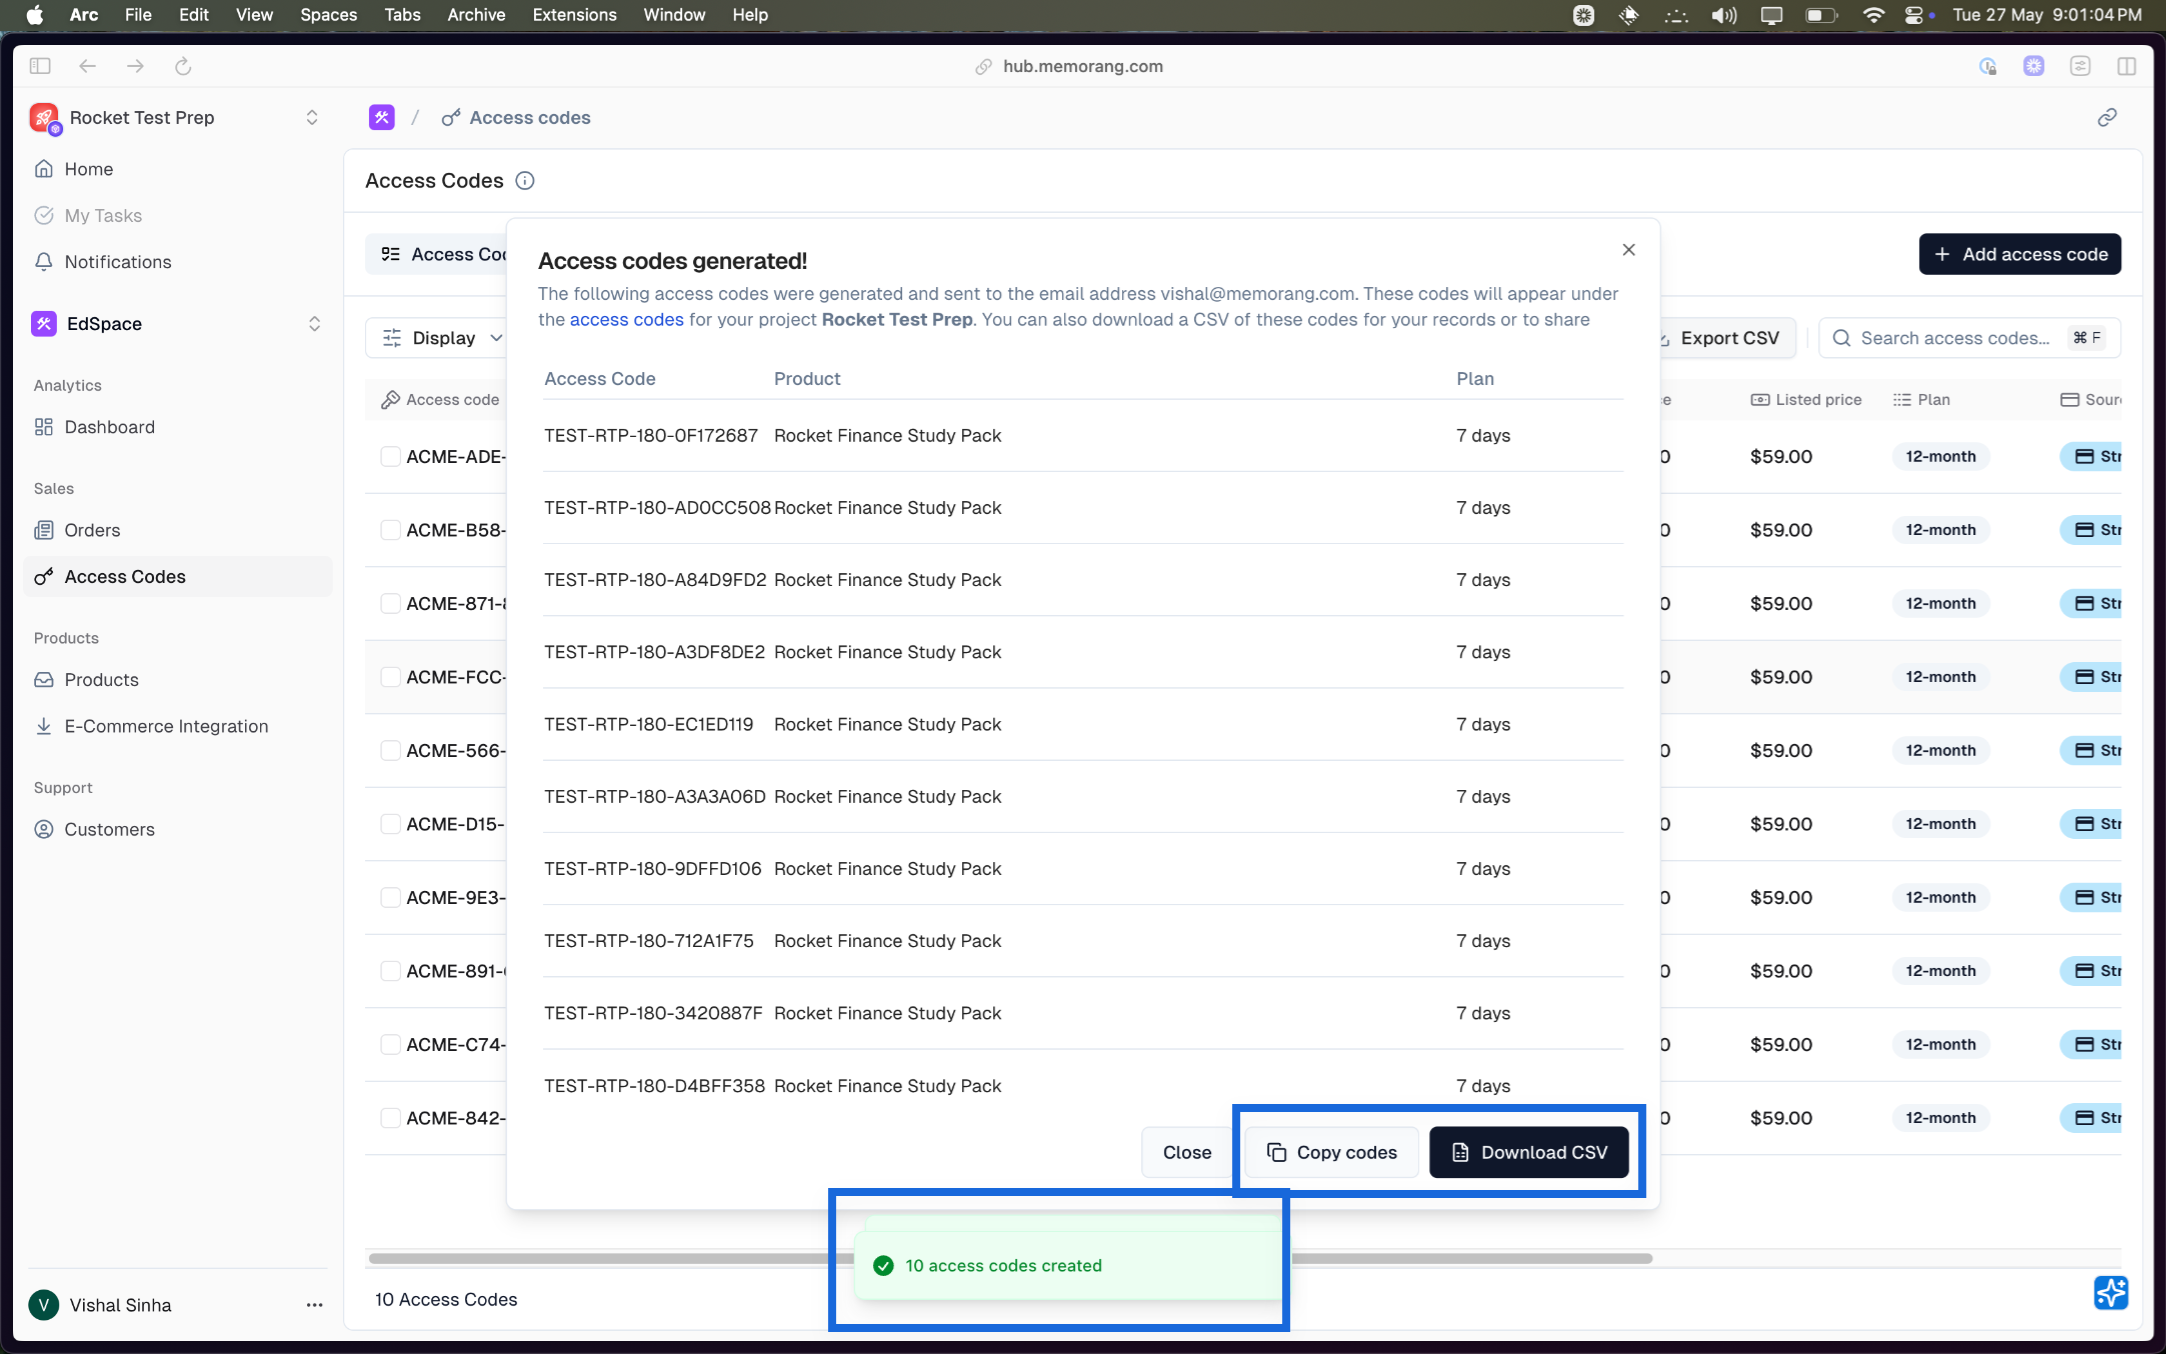
Once generated, you’ll see an acknowledgement popup that it was generated successfully and
You can copy all the codes by clicking on
Copy codesbutton orDownload the codes as CSV to your system by clicking on
Download CSVbutton
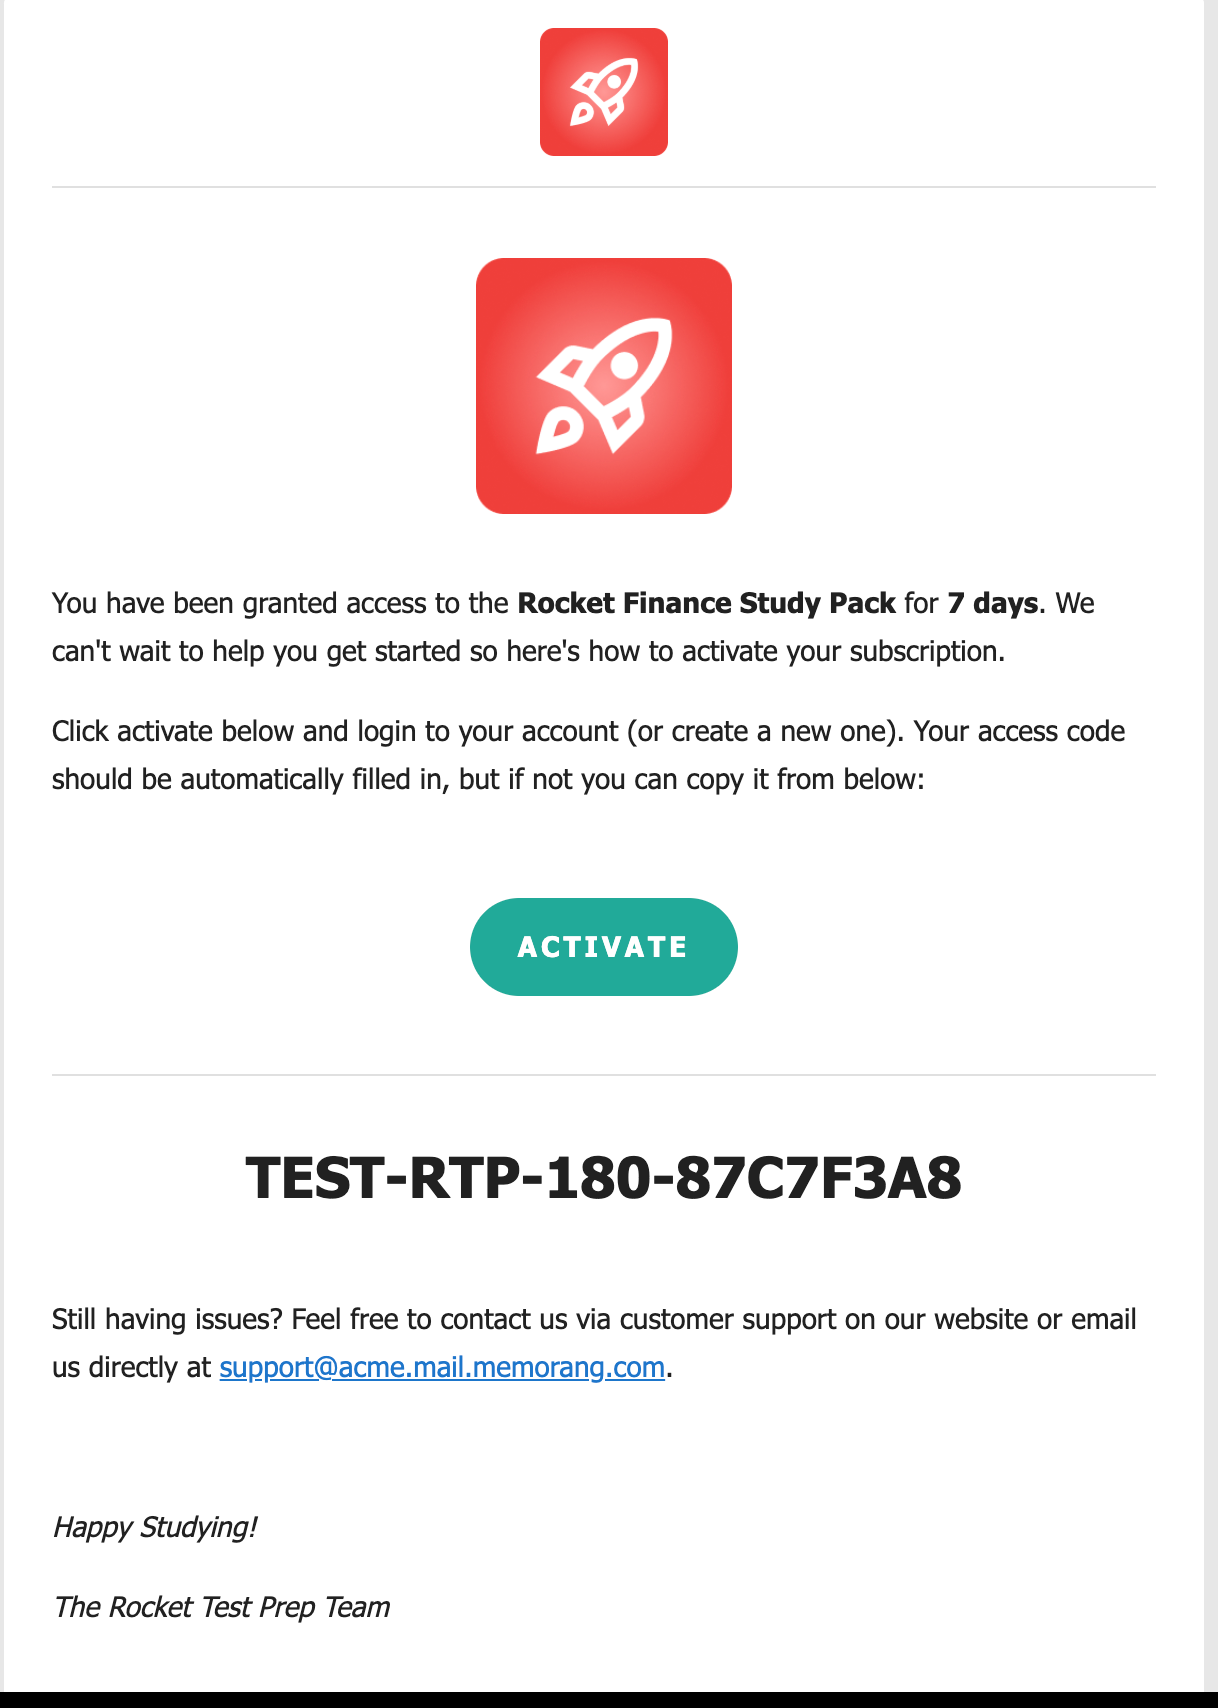
If you’ve enabled the
Send Notificationbutton during the generation then the same set of access codes will be send to the mentioned email. Where the user will have the option to activate the access code directly from the email.

2.1 Bulk Generation ( ≥ 150 codes )
Similar to standard, click on the
Add access codebuttonSet the count to ≥ 150 to trigger a bulk generation and click on the
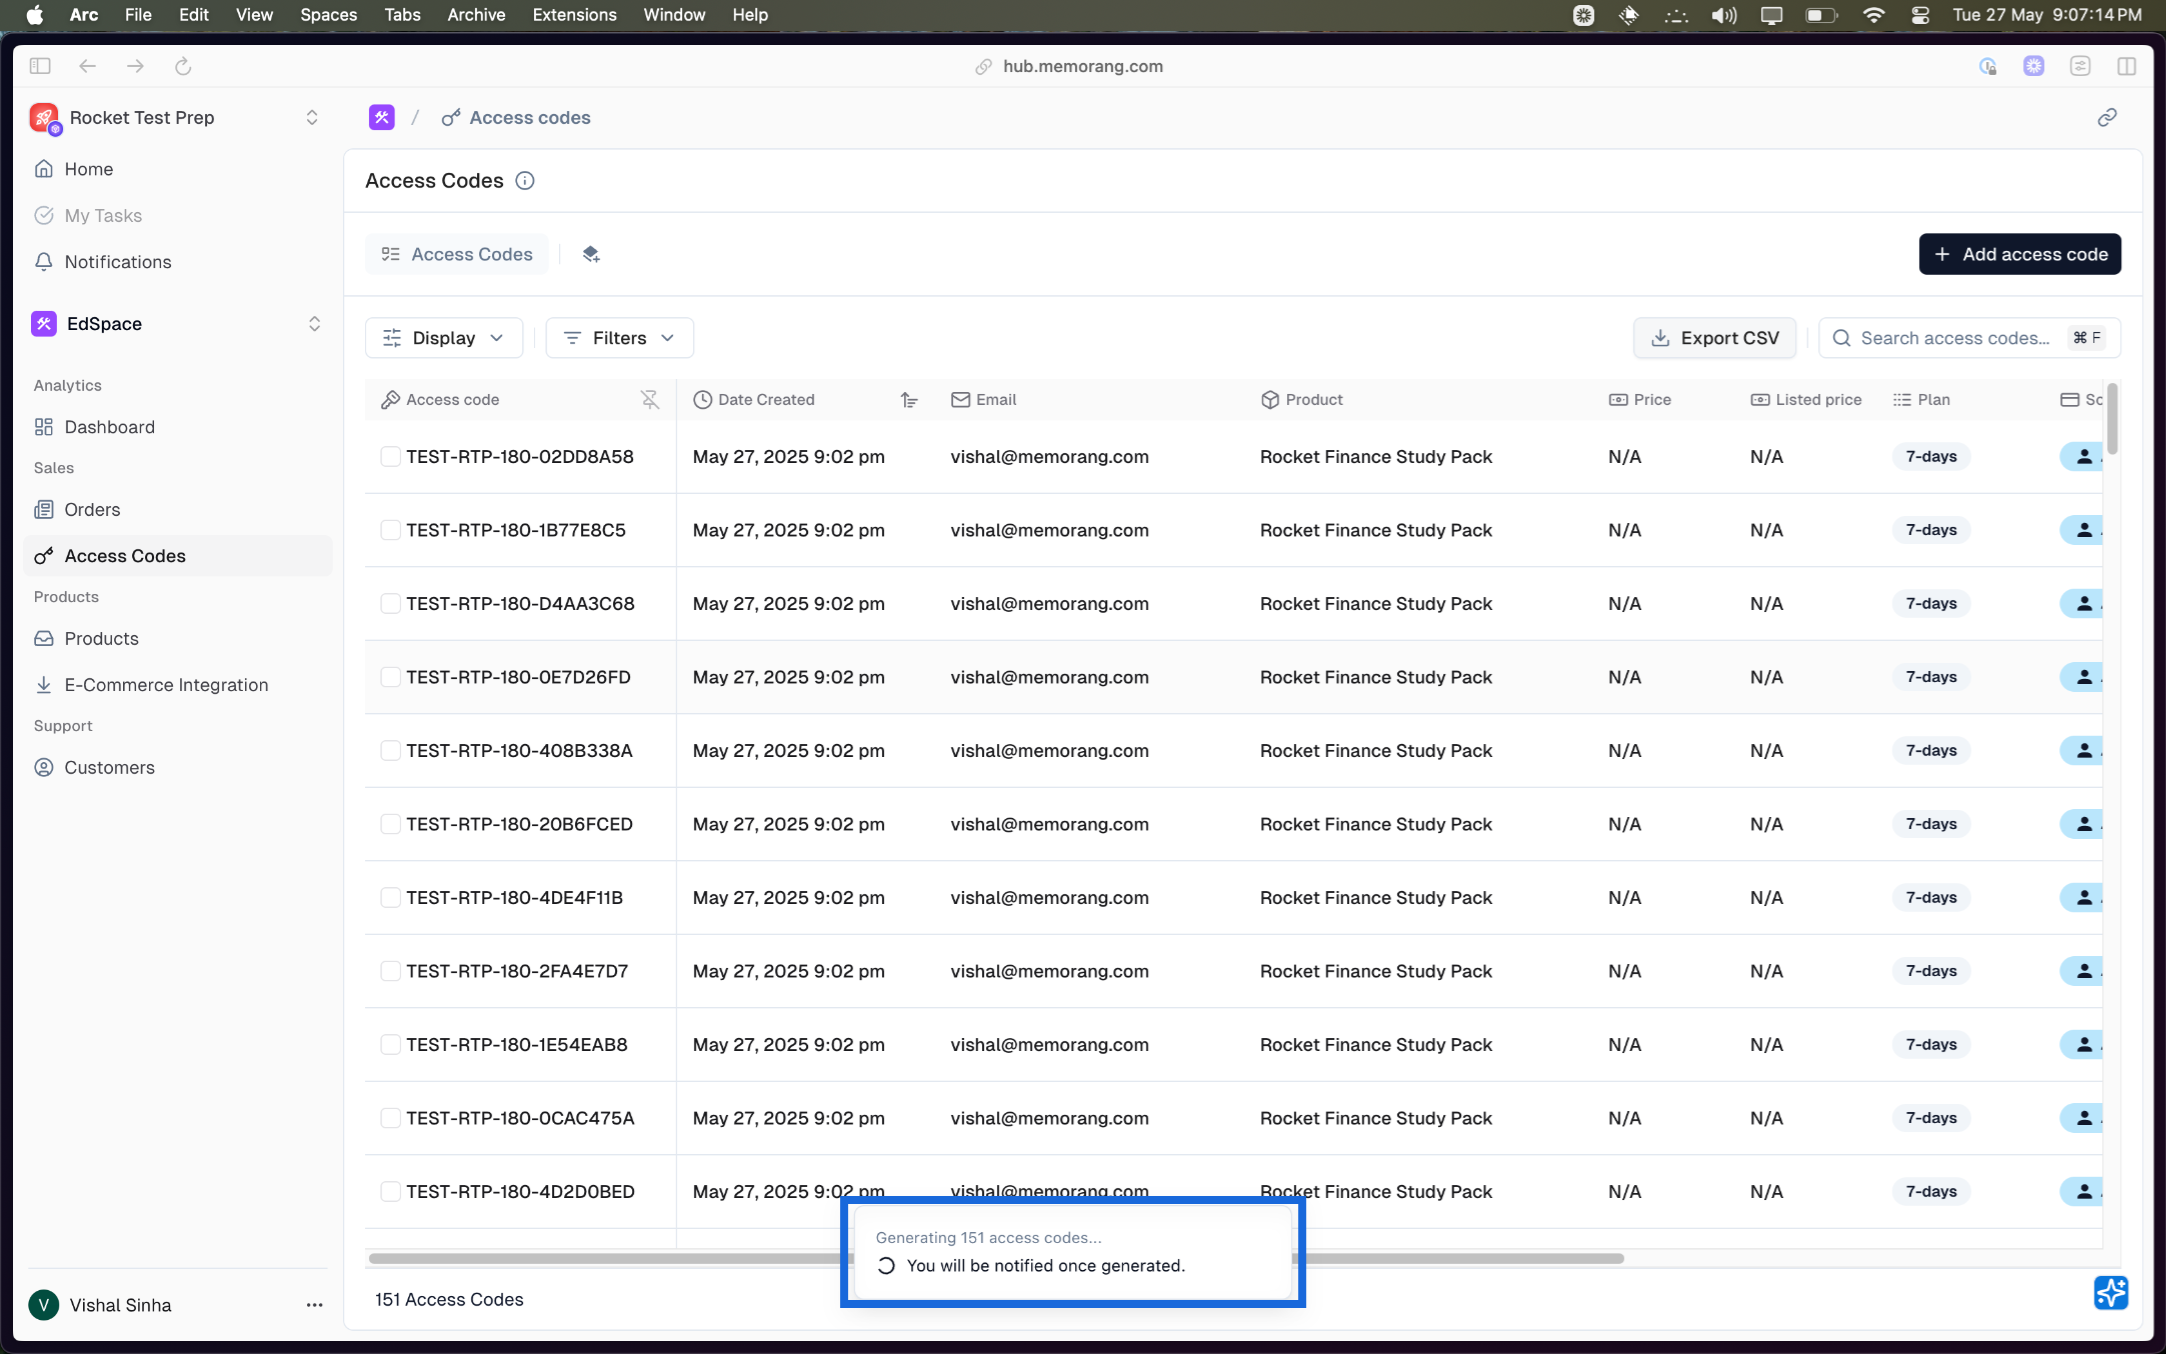
Generate codesbutton at the bottomYou’ll receive an acknowledgement popup saying the
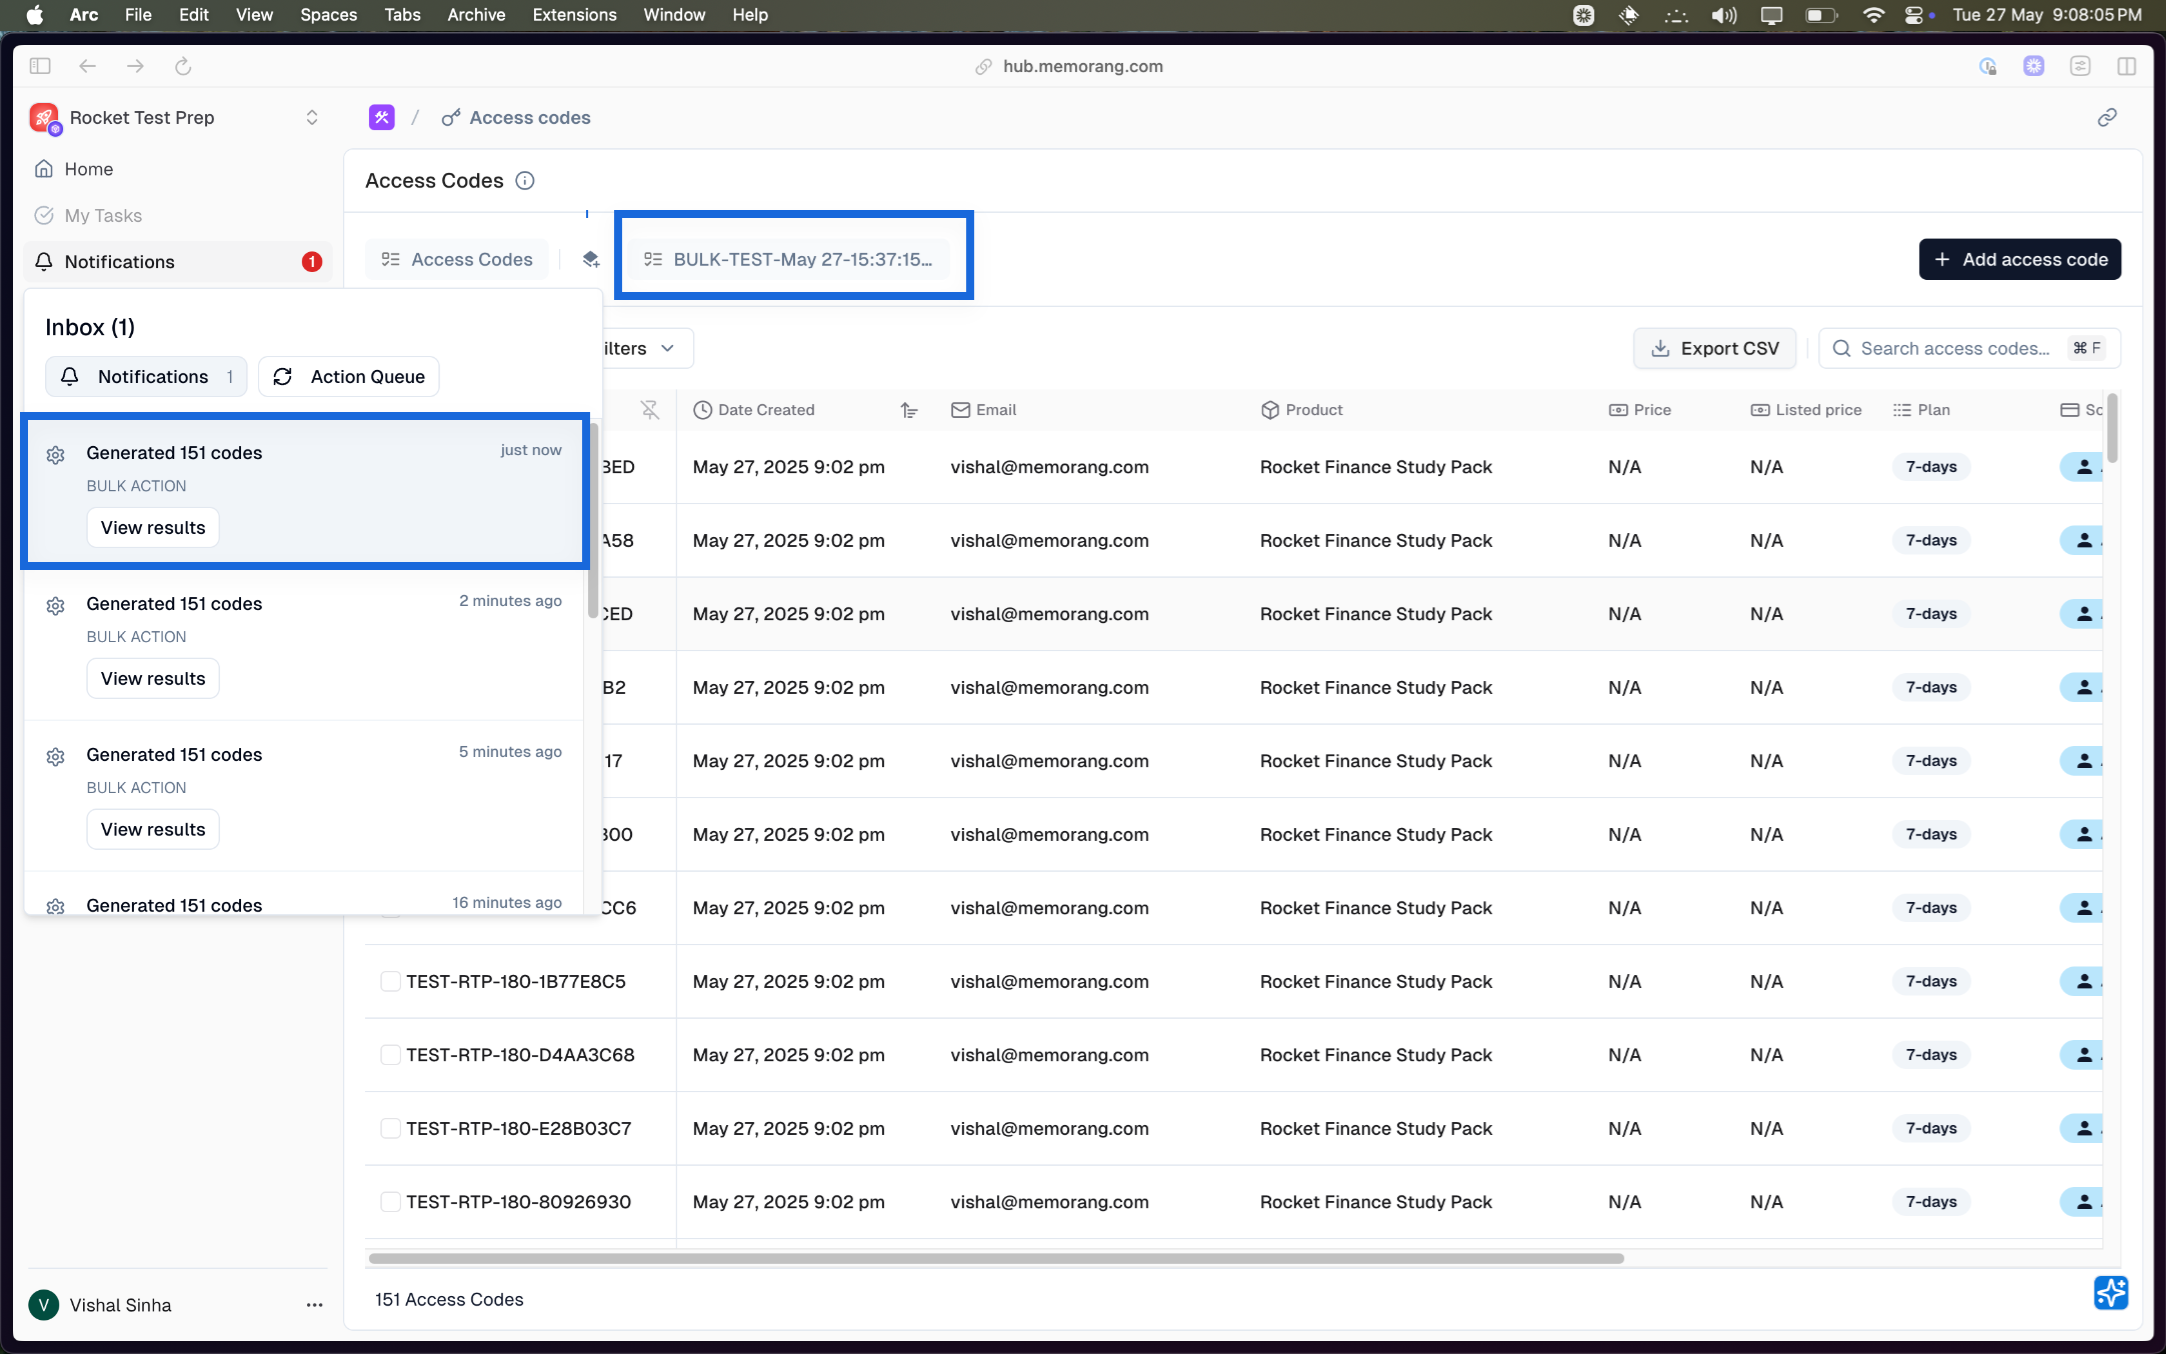
You’ll be notified once generated. You need to wait for some time based on the number of access codes being generated.Once generated, you’ll see
a count in the notification section and
a new view with the time when the access code was created
Clicking on the View Results button from notification or the view button from the access code page will load all the access codes which was generated in the same batch.
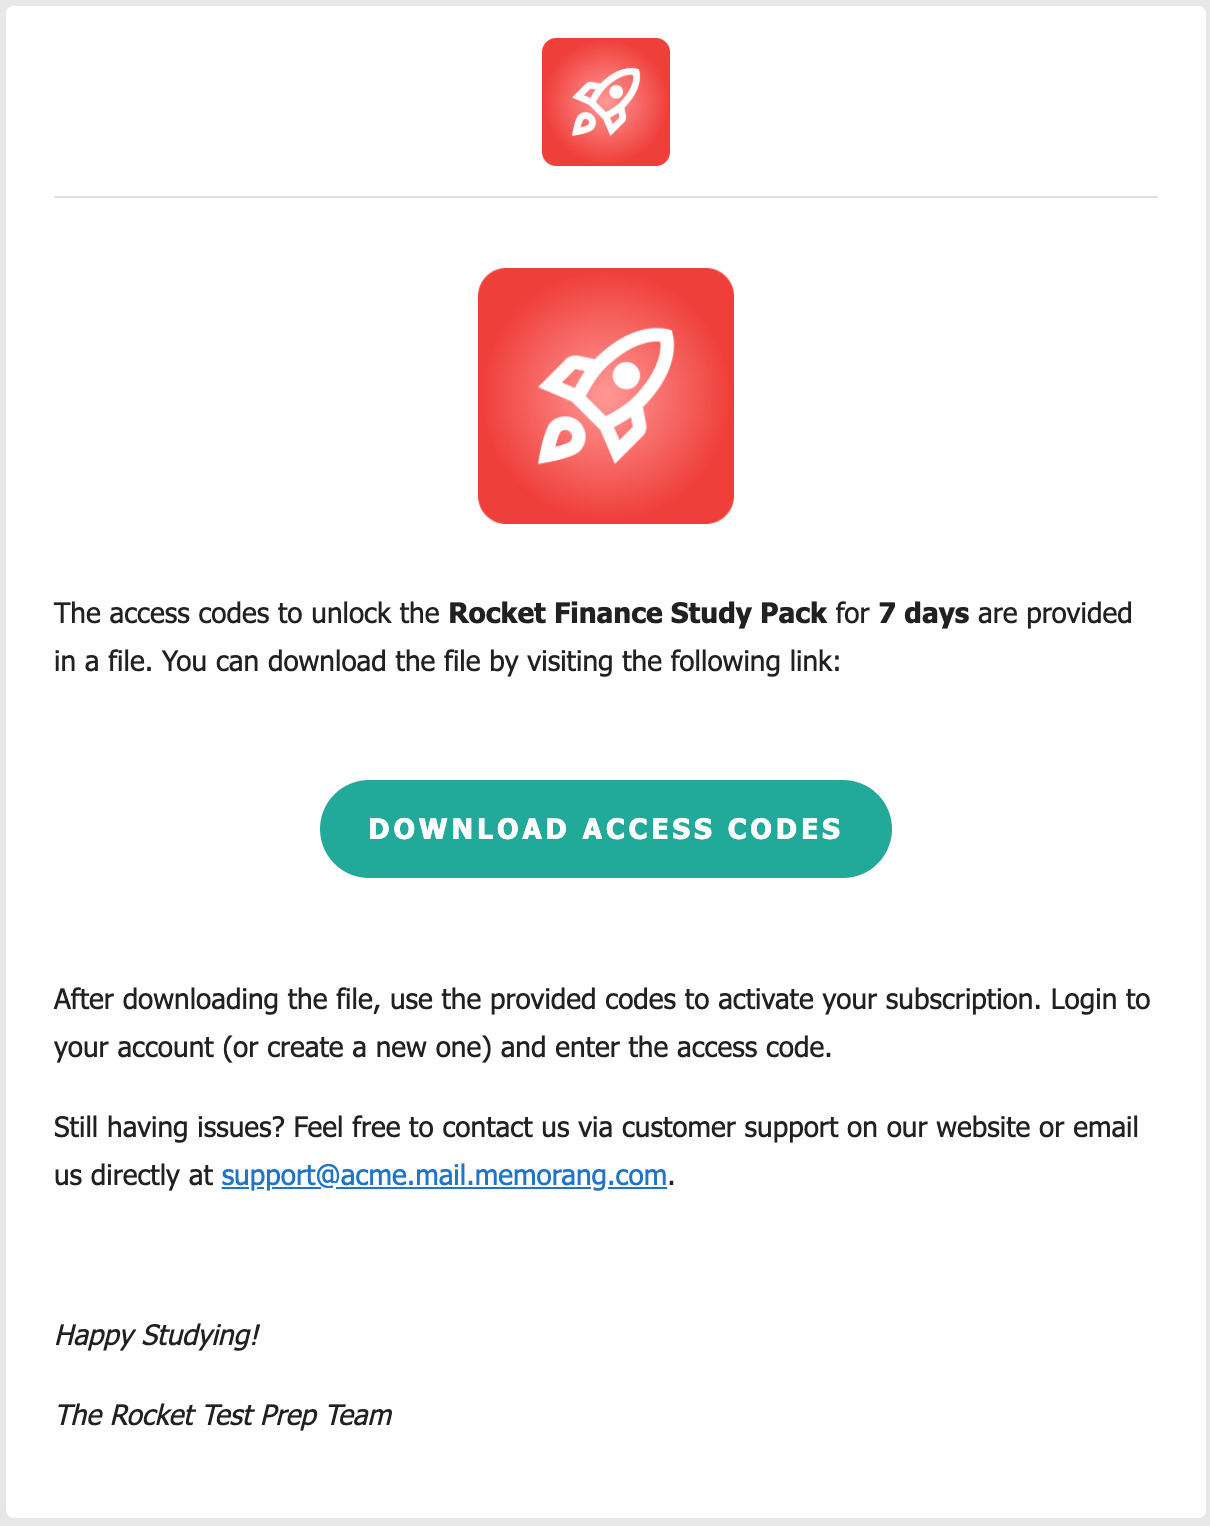
If you’ve enabled the
Send Notificationbutton during the generation then the same set of access codes will be send to the mentioned email. Where the user will have the option to download the access codes in CSV format.

This concludes the guide on access code creation in Edspace. If you need additional assistance, please contact our support team.